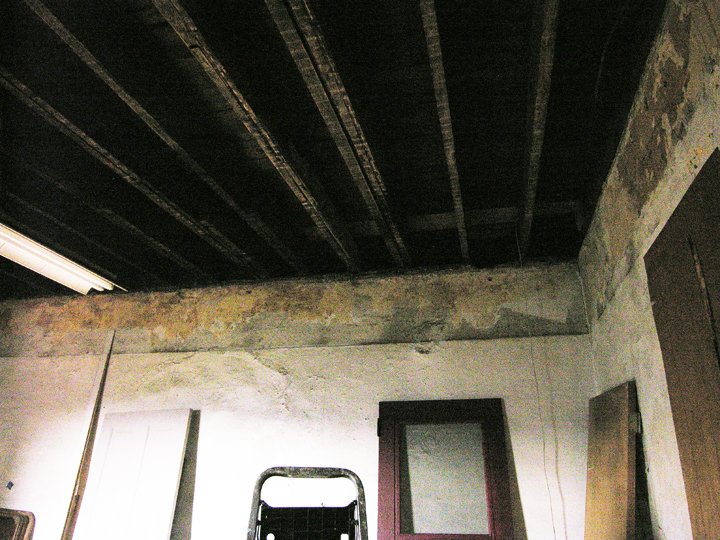
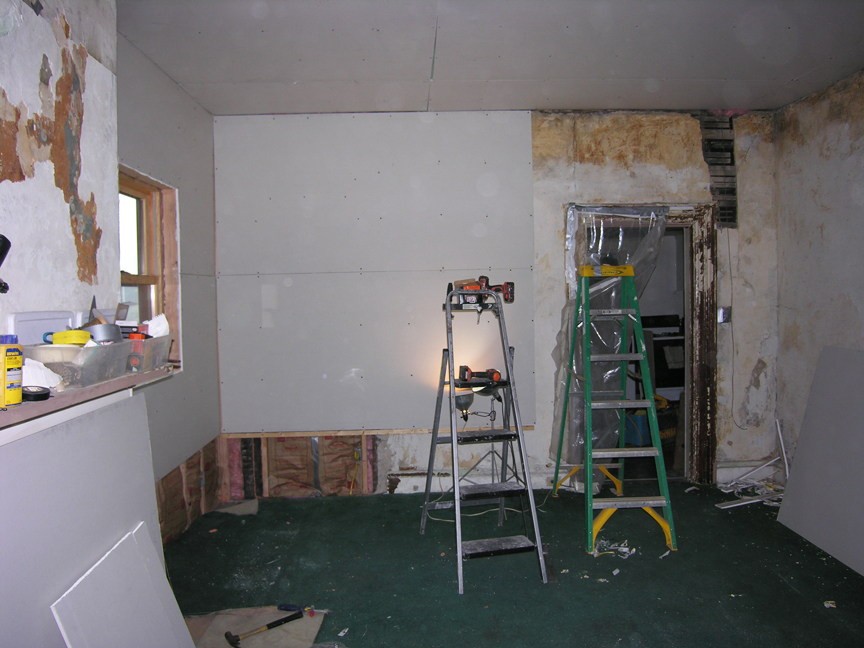
So here we are back in the middle room on the first floor, with no ceiling and one open wall. It sat like this for a while (two years), but one winter my sister got stir-crazy up in the Virginia mountains and decided to come to Pittsburgh for a few days and put up a ceiling. This isn’t what most people choose to do when they get stir-crazy, but she really likes constructing stuff, figuring out how to do something. She’s all about getting stuff done quickly and is bored by details, finishes and research, stuff that I find interesting, so it works out well.
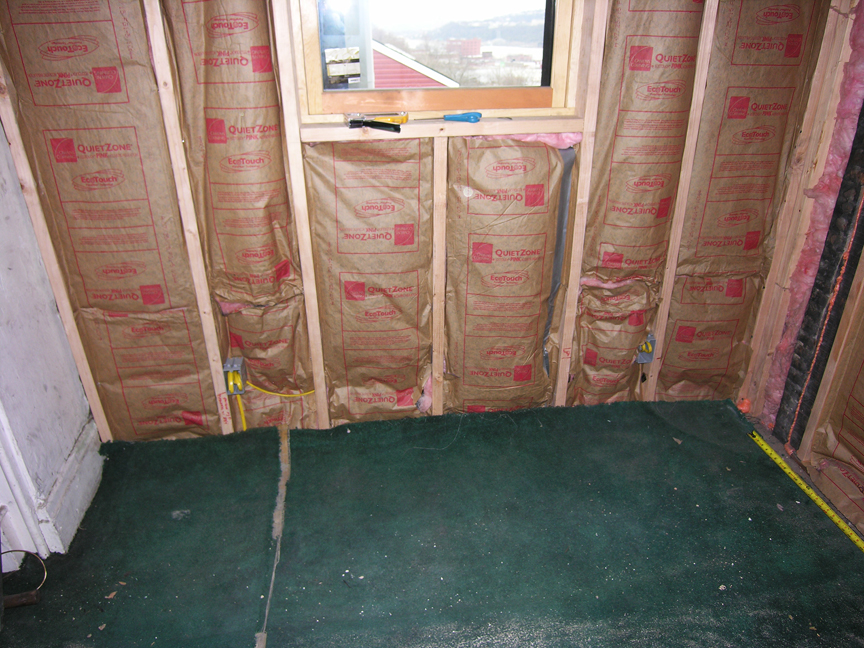
The plan here was, she’d come for a few days and we’d bang this out, then I’d fill in gaps, the mudding and caulking and all the little details that take a long time. First, we insulated the wall and the ceiling joist bays. This is going to be a media room with big speakers, so the ceiling got two layers of acoustic insulation, which will help keep the upstairs peaceful.
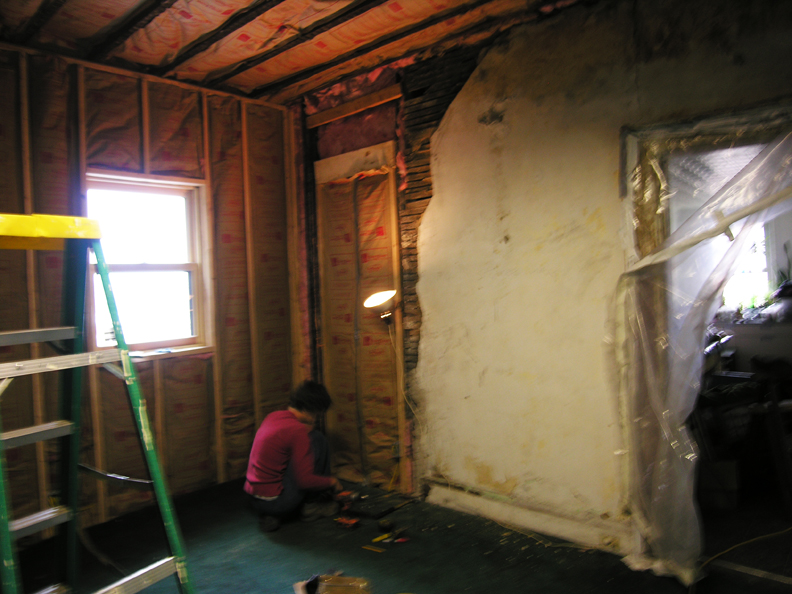
While the wall was open, it made sense to frame in a future window in the north wall. There’s an enclosed porch on the other side of that framed-in opening. It’s a depressing windowless space now, but one day it’ll be a sun porch, with an amazing view. When that happens, we could open up the wall here and put in a window — or a door (to leave the options open, the space is open to the floor).
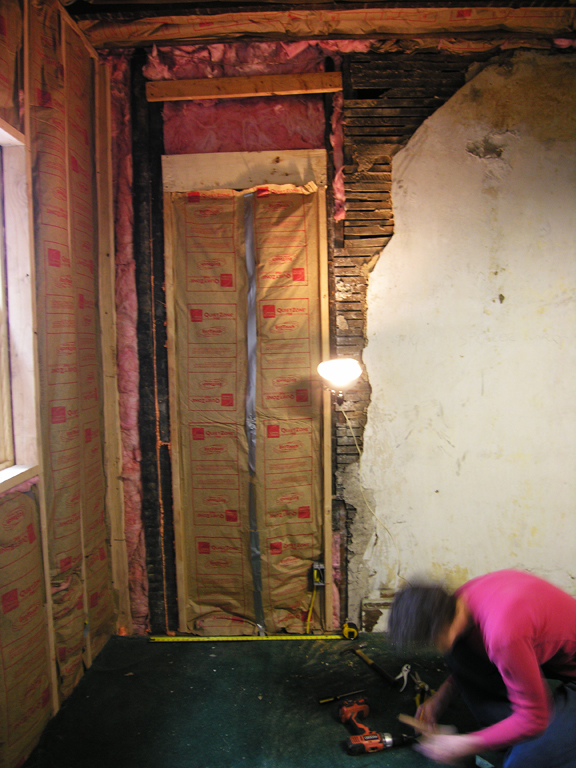
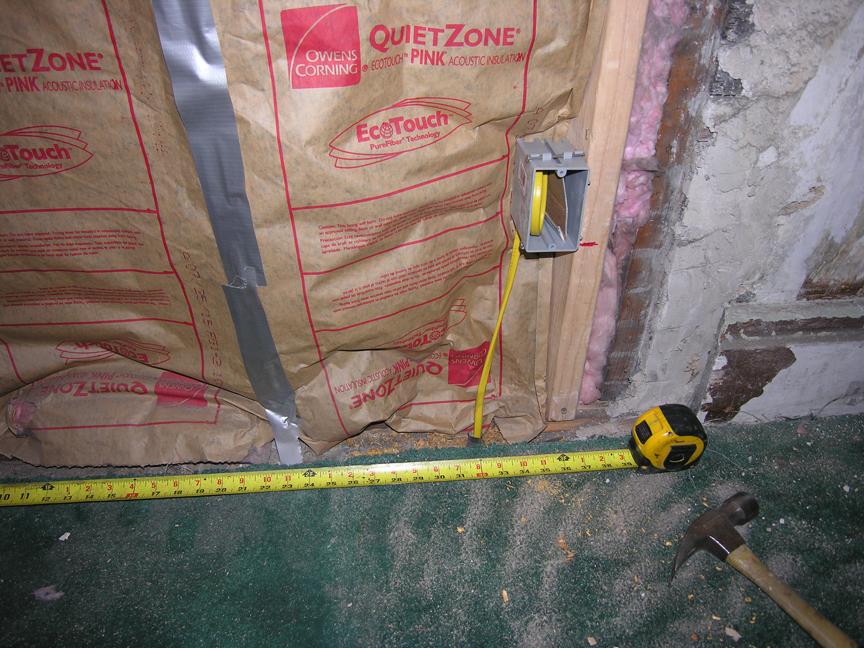
We measured and took a photo to note the location of the opening and the wiring.
After the ceiling insulation came the blue foam, for another layer of soundproofing, then drywall. The joists aren’t standard, so just attaching full sheets of drywall would require lots of careful strapping, the ceiling version of shimming. We were limited on time and not concerned with making things absolutely perfect and my sister suggested that we put the drywall up in panels, sizes to be determined with some quick math based on the dimensions of the room. The seams would be covered with pine lattice strips for a simple, low-profile coffered effect.
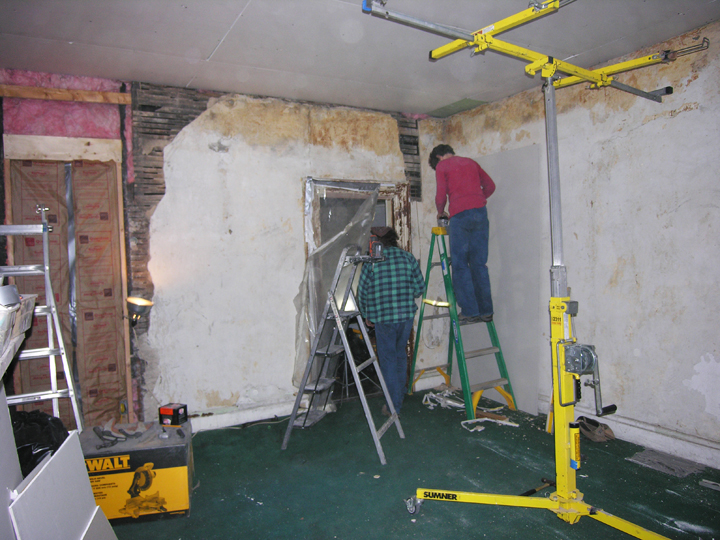
The smaller panels would be much easier than wrangling full-size drywall sheets, but they were still a bit too large and heavy for us to comfortably carry up a ladder, hold and attach, so we rented a drywall lift. It’s so nice to have something held in place, and you can make small adjustments and take your time.
Then we put up drywall on the open walls, applied horizontally because it was an easier fit. It’s always an adjustment to see walls closed up after being open and messy for so long. The room looks so much better, but also smaller; although that perception fades after a few days.
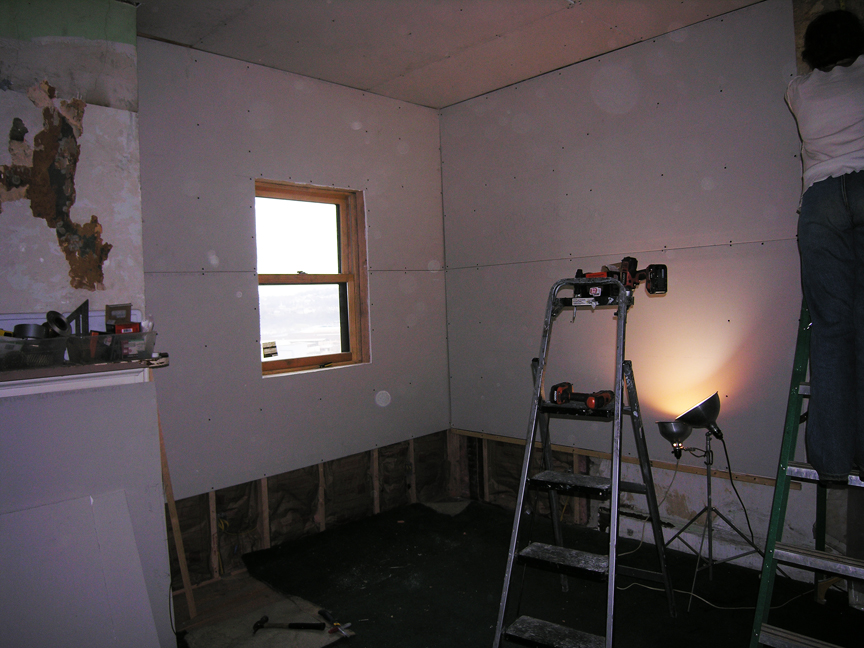
I planned to fill in the open areas with drywall and blend the joint between that and the remaining areas of plaster, but convenience ended up winning and my sister put the drywall over the plaster, all the way to the corner. We’d spent a lot of time scraping that wall down over the previous months so it was a bit frustrating to see that work turn out to be unnecessary, but that happens sometimes.
After the drywall was up I started mudding and they got to work on the bookshelves.
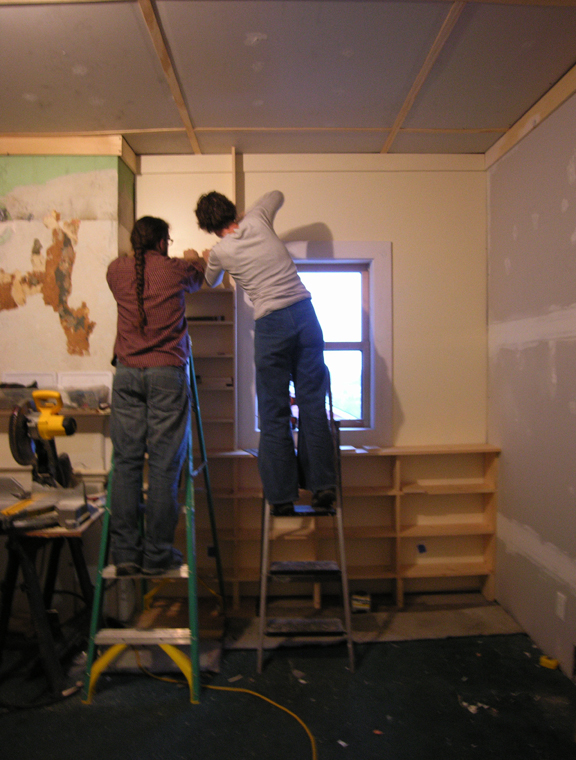
She’s got a great quick method for built-in shelving in a enclosed space like this. In a nutshell: firmly attach the side boards to the wall, then build up the shelves, bottom-up. Put in vertical supports, put in the horizontal, attach, then put the next verticals on top of that.
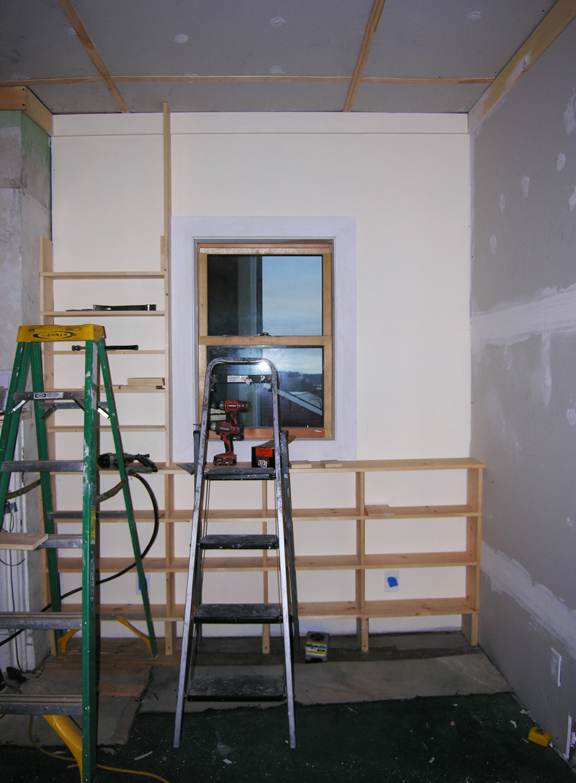
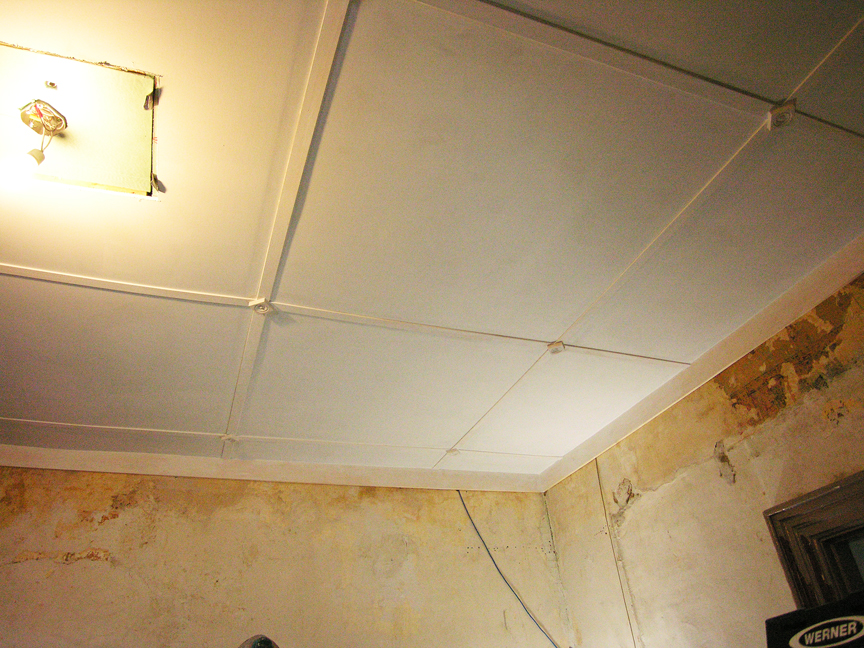
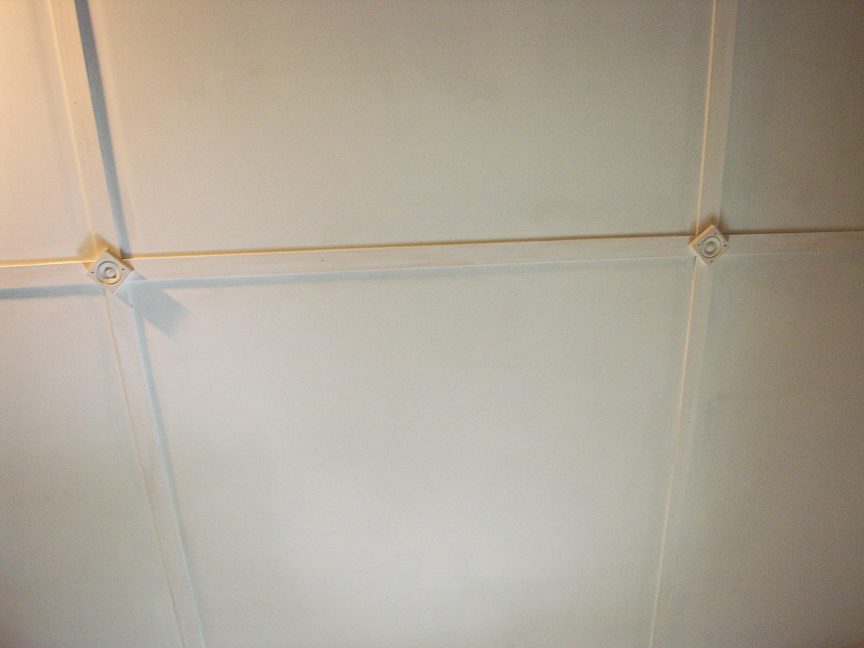
In the two above photos you can see that the new ceiling between the chimney and the window is a bit wonky and not completely flat. 19th century joist beams aren’t standardized, which we knew, but the time constraints decided against getting into strapping (shimming to level a ceiling). This area was the most uneven, which wasn’t so obvious when it was just the drywall panels, but the lattice emphasized it.
I wish we’d spent a bit more time on this area to even it out a bit, but it’ll look better after primer and paint . I decided that the ceiling needed an additional detail and added the smallest, cheapest pine blocks to each intersection. I put them on a diagonal because the other way looked awful.
Oh, and we also put up simple crown molding. Not only does it make the ceiling look more finished — like a cap on the room — but it covers the gaps between the wall and the ceiling.
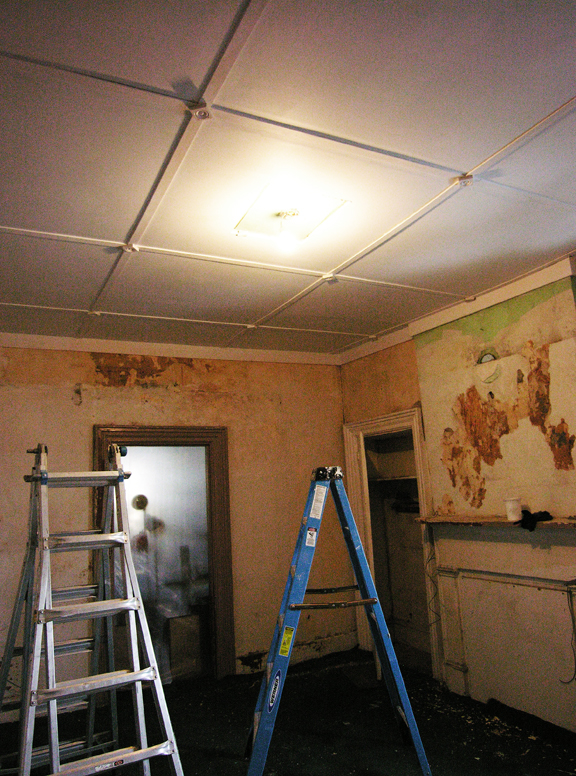
We hadn’t decided on a fixture yet, so we left a panel around the box. This will be covered by the medallion.
It’s much fancier than the original was, really a bit too fancy, but it looks nice.
Next: painting, trim, details.