Where were we? Oh, yes. In the middle room on the first floor, with no ceiling.
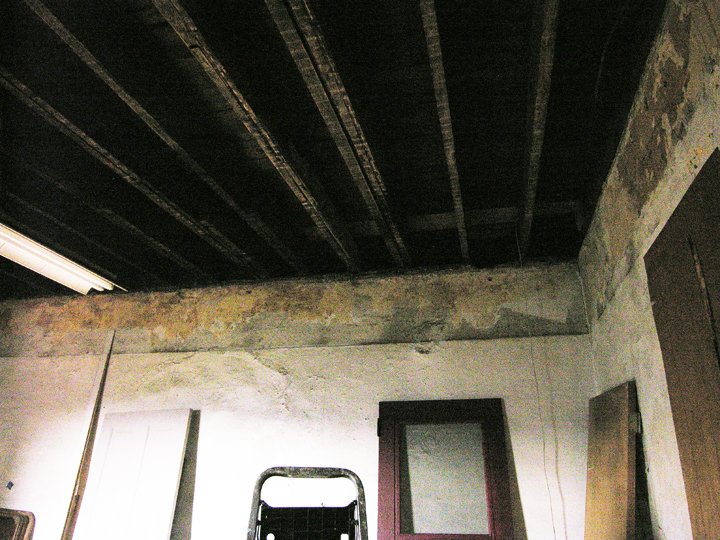
I wasn’t yet up for the challenge of putting up a ceiling and turned my attention to the walls, which were lumpy and had that swirly texture you see a lot in rentals. That stucco look was modern and hip once, but it survives because it’s a quick and easy way to disguise imperfect walls.
Textured walls catch dust, though, and even with bright white paint they never look really clean. I was prepared to skim coat the room to level out the surface, but that would take a long time and the walls were already thick with repeated patching and layers.
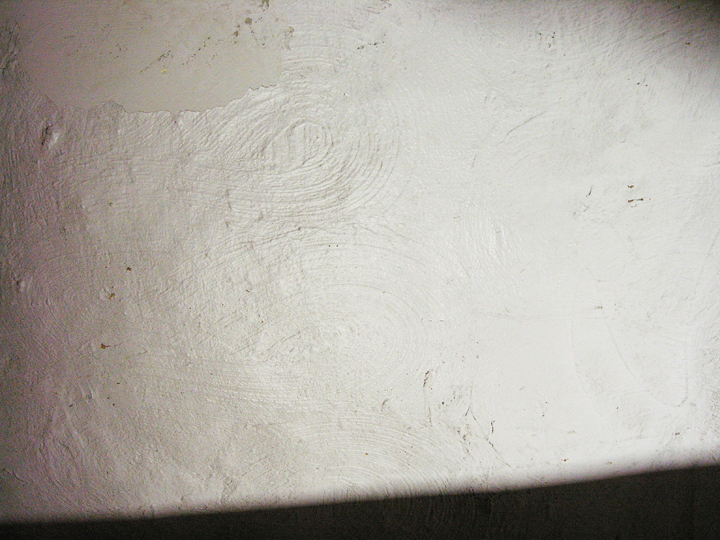
I really didn’t want to add more stuff on top of this. I was scraping at it dispiritedly one day and discovered that the textured surface beneath the paint was joint compound, applied in big looping motions and covered with countless coats of cold white semi-gloss latex. This was encouraging, because joint compound is water soluble. I’d been reading about how to remove a popcorn textured ceiling by soaking the material until it was soft enough to scrape off. I experimented with that technique on these walls and discovered that if I made lots of shallow scratches, just enough to pierce the paint layer, then sponged water into the scratched areas, the joint compound underneath would soften. When it got damp enough, the thick latex paint could be peeled off in wide ragged strips.
When most of the paint had been peeled away, the joint compound could be soaked further, to the point where it could be (gently) scraped off with a palette knife or scraper. At that point it wasn’t hard to get down to the original horsehair plaster (although around here, apparently, they often used pig’s hair). Old plaster is water-resistant and can take it a lot of wetting, but it took a bit of practice to find the right angle and pressure to avoid gouging the surface. I keep reminding myself, it takes less time to be careful than it does to repair what you’ve damaged. One day I’ll absorb this lesson.
After a careful scraping, the remaining traces of joint compound could be washed off with a scrub brush, then the wall could be wiped clean with a damp sponge. It worked best to do this in sections of about 3-4 feet square — an area that was easy to reach and to keep damp. Plastic on the floor was essential; this is a soggy process.
Speaking of water damage, there was the window.
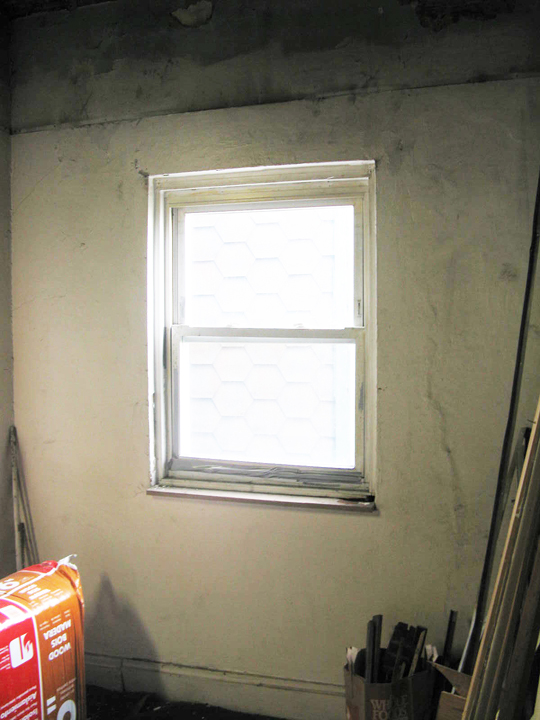
The original windows for the house were long gone. Judging from the style of some old sashes in an enclosed basement space, their replacements were gone too. Apart from the basement, all the windows were white vinyl, and every one had issues. One day they’ll all be replaced, but the window in this room — and the wall below it — was in particularly bad shape.
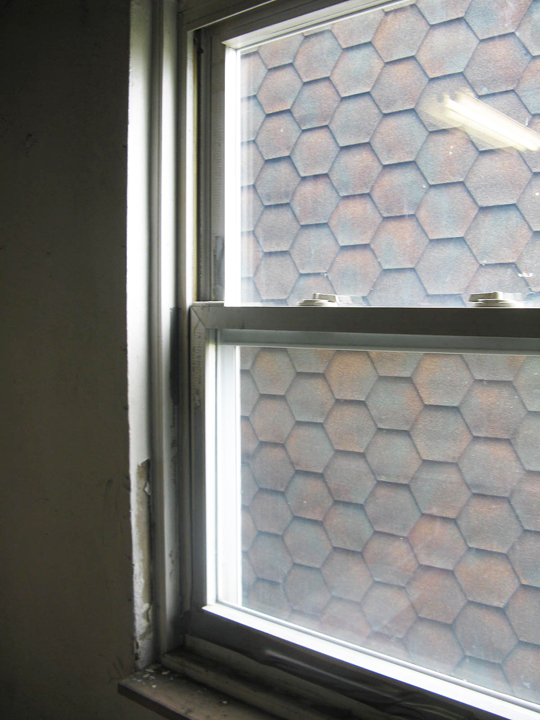
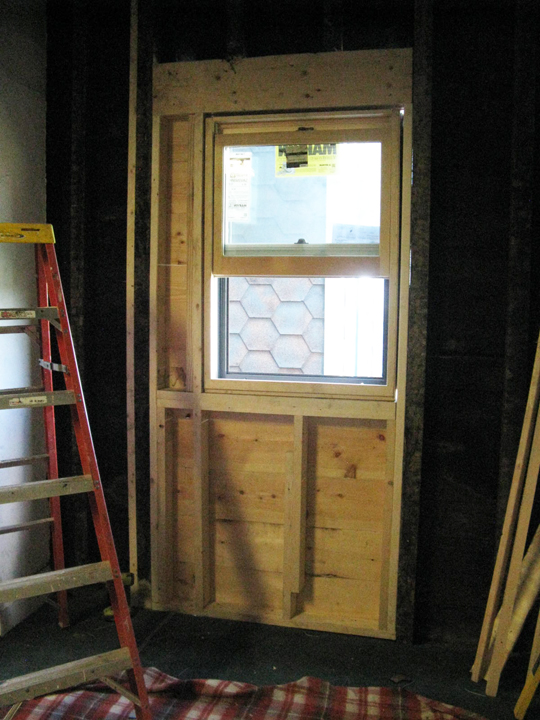
(That interesting texture outside the window is the Insulbrick siding on my neighbor’s house. That hexagon is my favorite type of Insubrick because when it’s old it gets these beautiful variegated tones. This siding was probably green when it was new; now each hexagon is different, with rusty color coming through, like scales on a sea creature.)
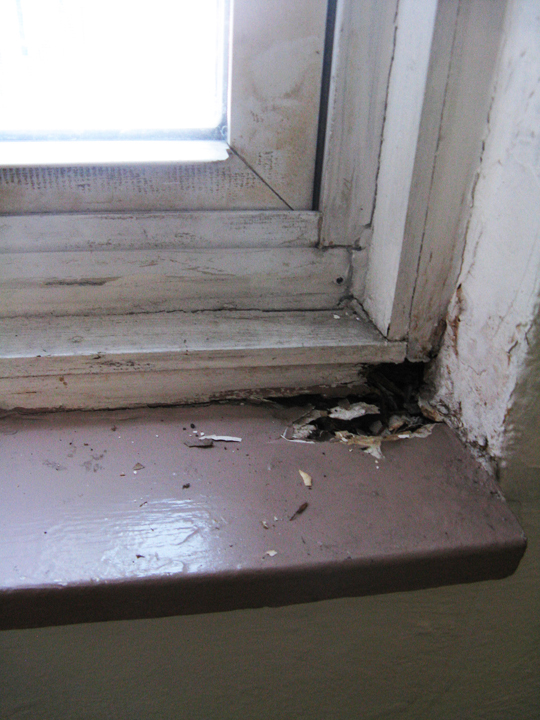
This window is on the west side of the house and gets the brunt of the weather. The lower sash didn’t close all the way and the casing and sill were rotten, with a gap to the outdoors where air was coming in.
Outside looked even worse.
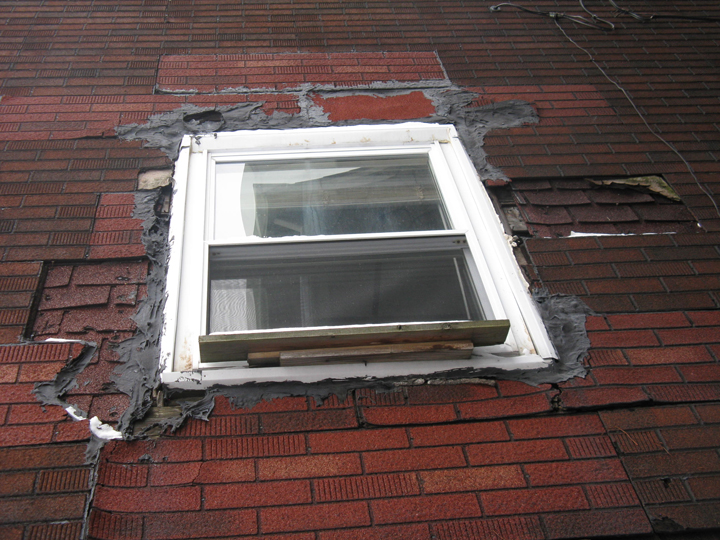
That is a layer of red-brick patterned Insulbrick over older dark red asphalt shingles, liberally frosted with roofing putty. I like how this angle looks like a crazy floor you could walk on.
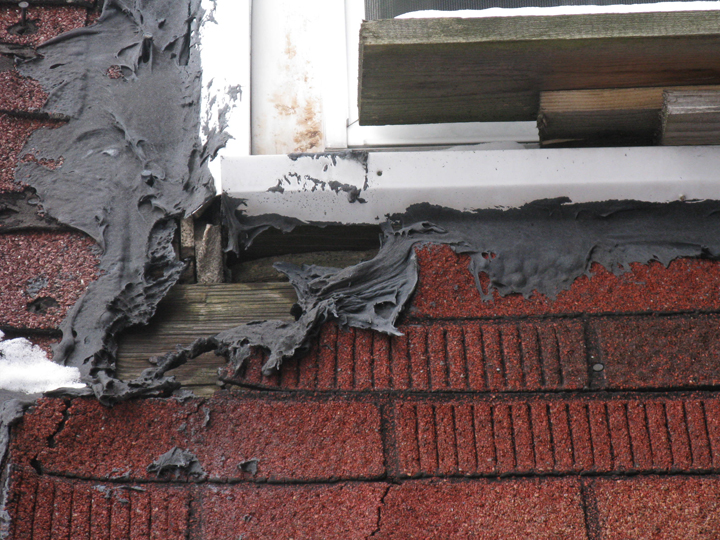
Because water had been getting into the wall for who knows how long, the area under the window would have to be re-framed. This was outside my experience and I got Russ and Joe, father and son neighborhood contractors, to come in.
I saved a bit by doing the interior demo myself — pulling off the window trim, opening up the wall and removing the the plaster and lath, pulling nails and cleaning up.
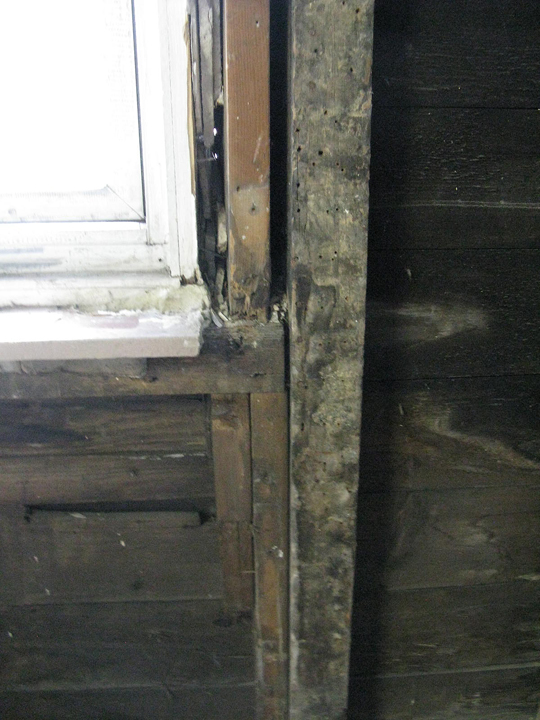
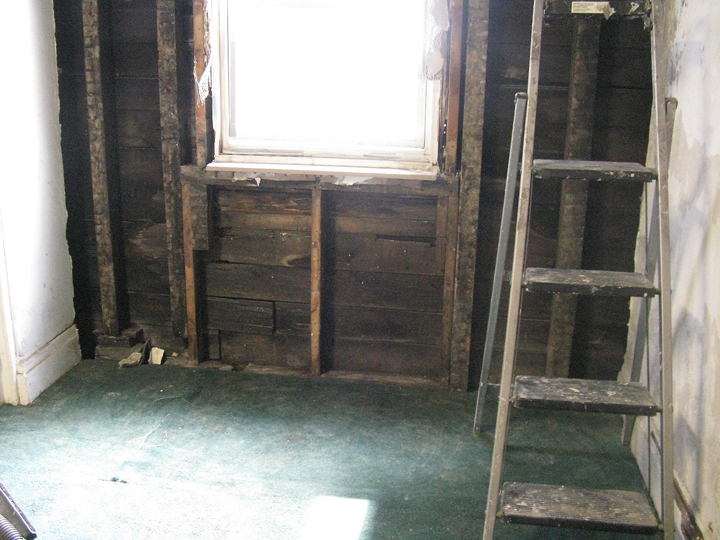
Once the plaster and the lath strips were off you could tell that there had been a fire at one point — some of the studs were charred. Later, we pulled up the carpet and underlayment and discovered that right-hand corner of the old floor was charred, too.
Russ and Joe reframed that bit of wall and installed the new window …
… then wrapped it well on the outside.
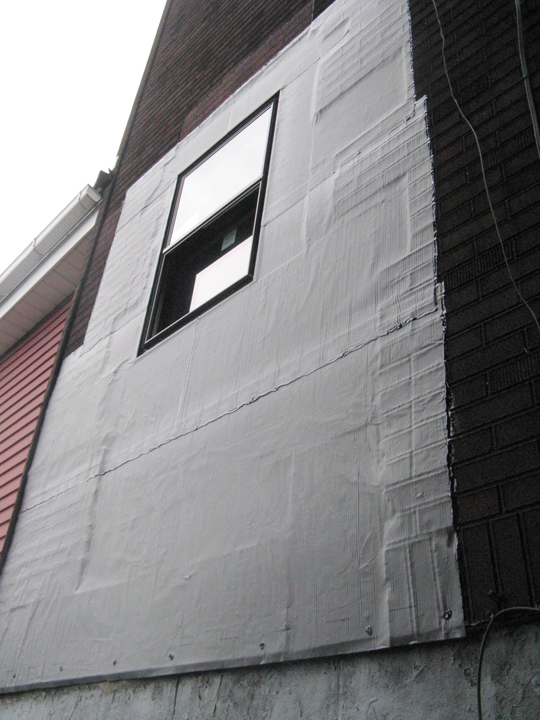
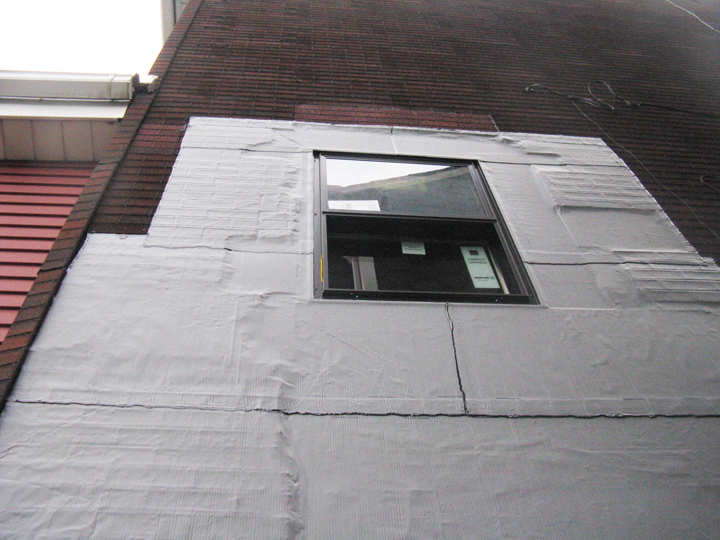
It doesn’t look like much but it is such a relief to know that the wall is closed up tight. This side of the house isn’t visible from the street, so it’s fine until we can get to the exterior renovation.
Next steps in this room: add electric, insulate, close up the wall and put in a ceiling.
