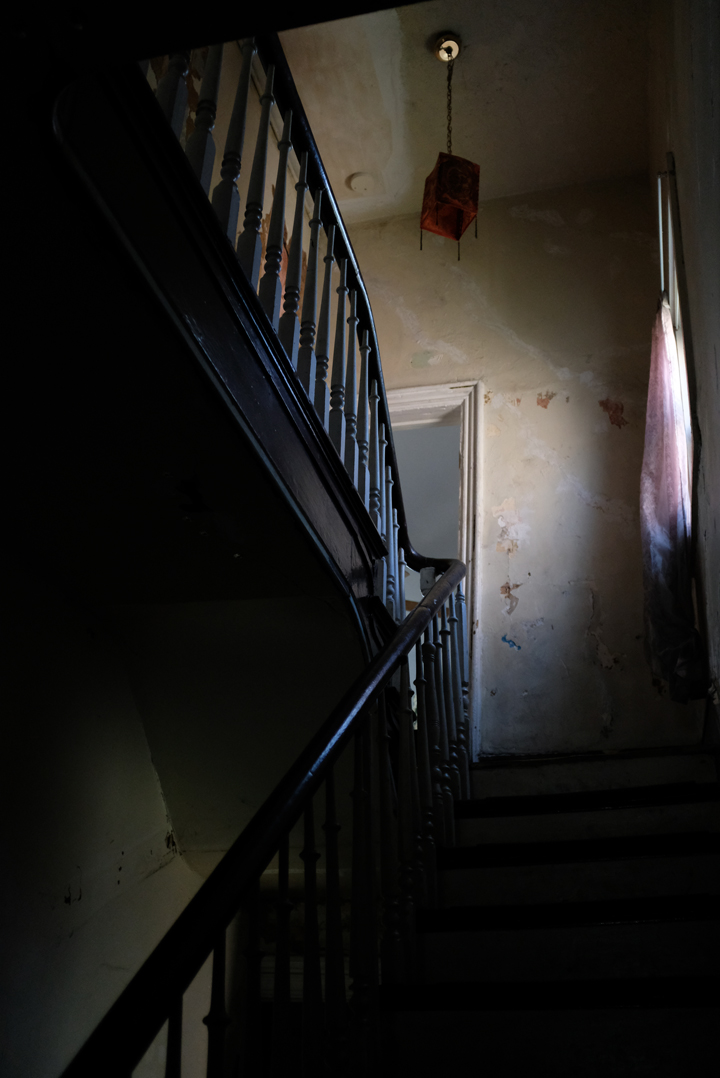
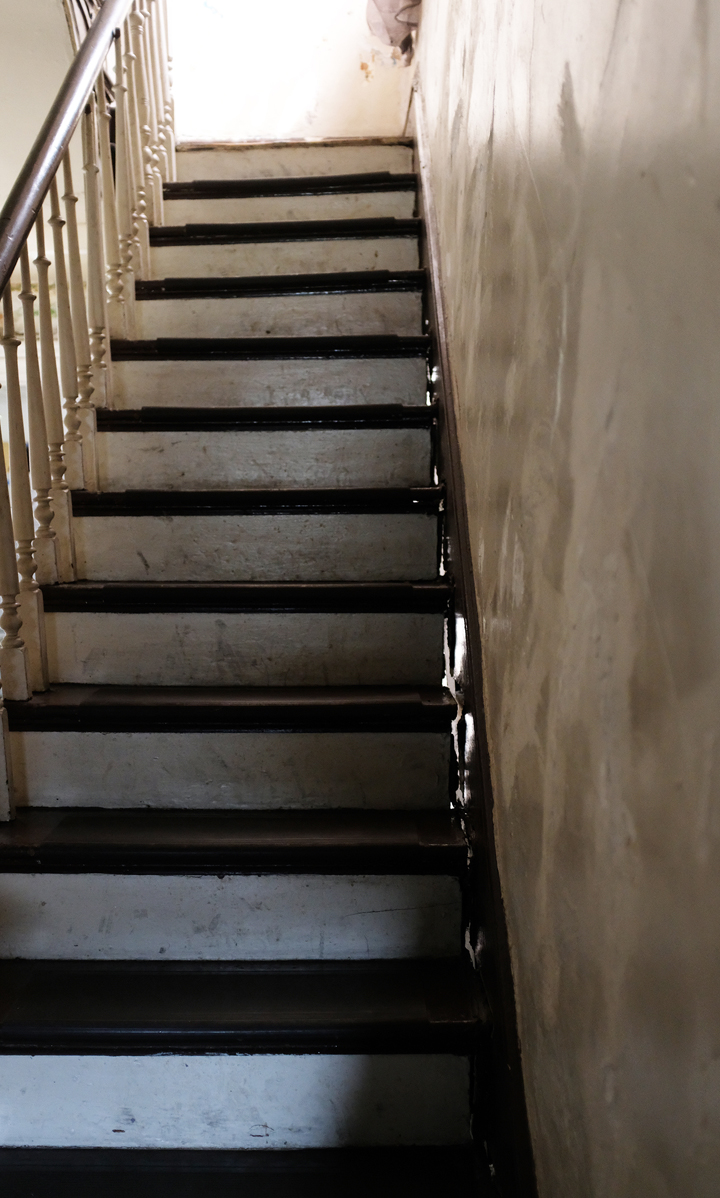
The staircase was one of the things that first caught my attention. From the outside the house was of an indeterminate age, but that sinuous banister, the turned newel post — these were definitely old stairs.
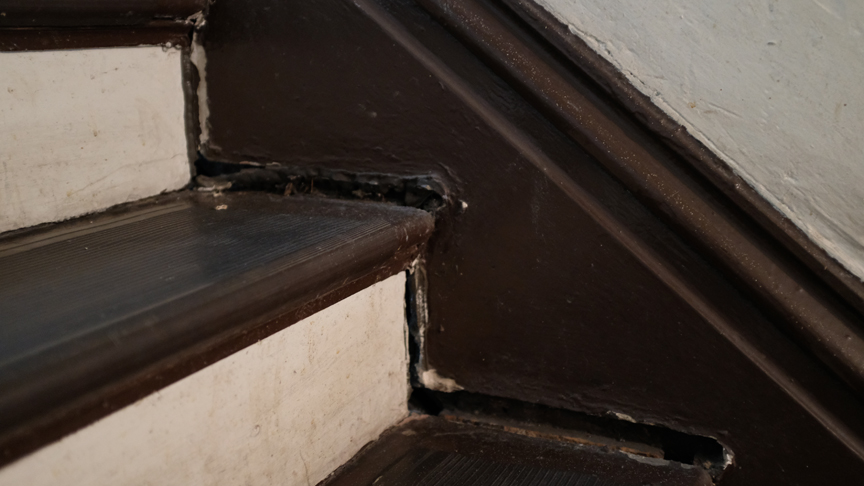
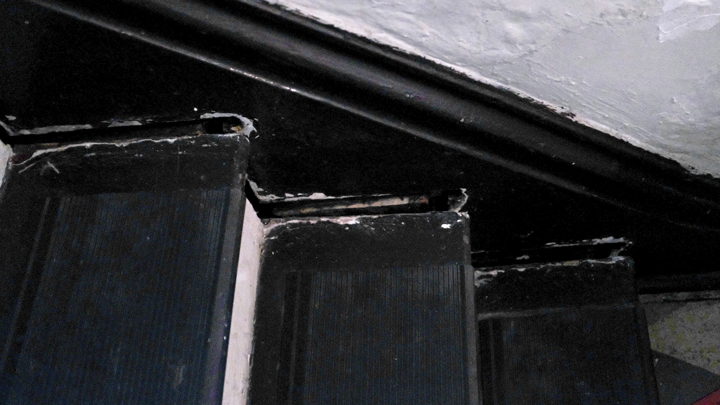
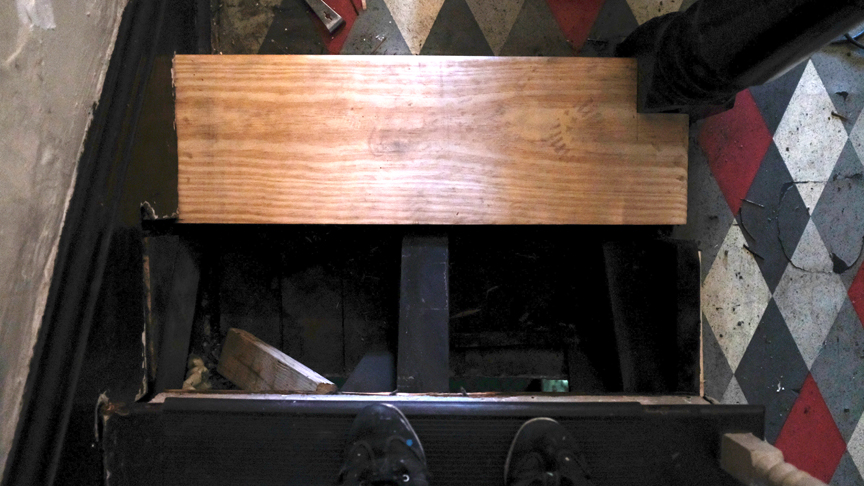
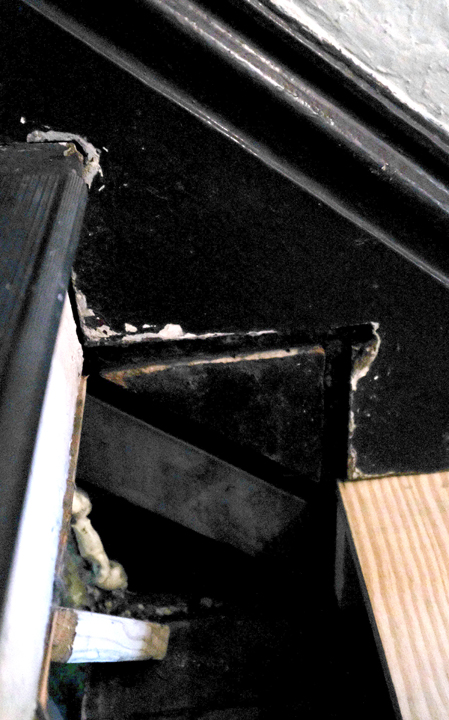
A hundred and forty years old, as it turned out, and of course stairs that old will have some issues. These creaked alarmingly, some steps flexed down when stepped on, the banister was wobbly and some spindles were loose or missing. The biggest problem was that about two-thirds of the steps had slipped out of the slots in the stringer, the board attached to the wall along the length of the stairs. In old houses or better new construction the steps fit into slots in the stringer, making the stairs secure. Here you can see the slots in the stringer — and how far the steps have moved out of them:
The stairs had slipped out of the stringer because the wall had shifted. On a balloon framed house like this one, the outside walls rest on top of the sill, a large wood beam that sits on top of the stone foundation. The part of the sill near the front of the house had rotted because of a leaky gutter that poured water against the foundation. As the sill weakened it shifted, turning slightly, and the bottom of the outside wall at the front of the house moved with it. Only about an inch and a half, which might not sound like much, but you can see the effect on the baseboard on that section of the wall — it’s attached to the wall, not the floor, so it’s now tilting backwards.
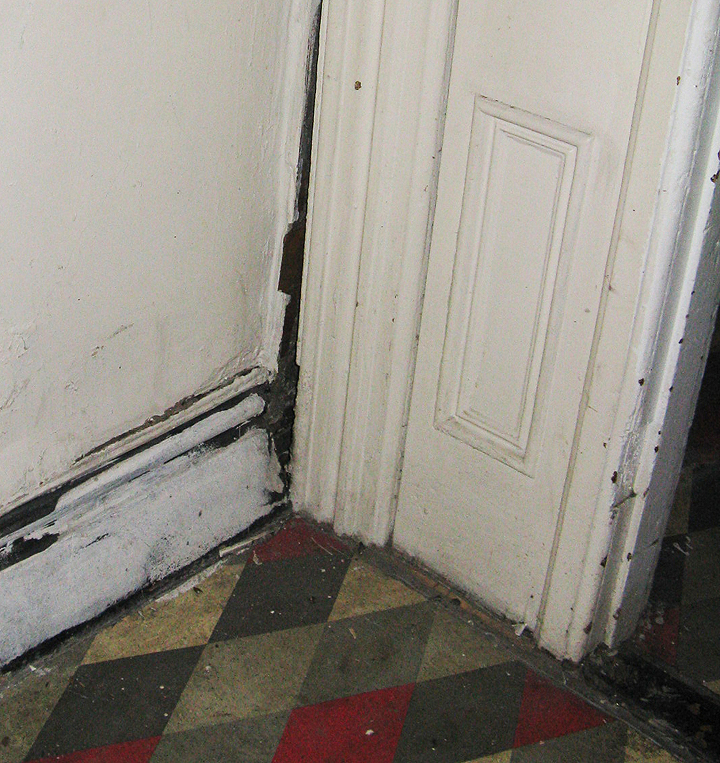
Getting the rotted sill replaced was the first thing I did after I bought the house. After the work was done, the contractor and engineer told me that the wall was stable now but it had to stay where it was — moving it back into place would have damaged it. They figured this might be the case for the staircase too, although the stairs are about twelve further back on that wall and the baseboard on that section is straight.
While the staircase was creaky and not really solid, it seemed to be holding. There was a lot of other projects that were more immediately urgent. In the meantime I kept a nervous eye on the situation and did some research on how stairs are engineered and how they could be shored up. The quick fix would be to put blocks of 2x4s under each step and screw them into the wall, then fill in the stringer slots and the gaps between treads and the wall. This would just provide support for the stairs where they were now, leaving the unsightly gaps to be laboriously filled in and camouflaged, but at least it sounded like something I could handle on my own.
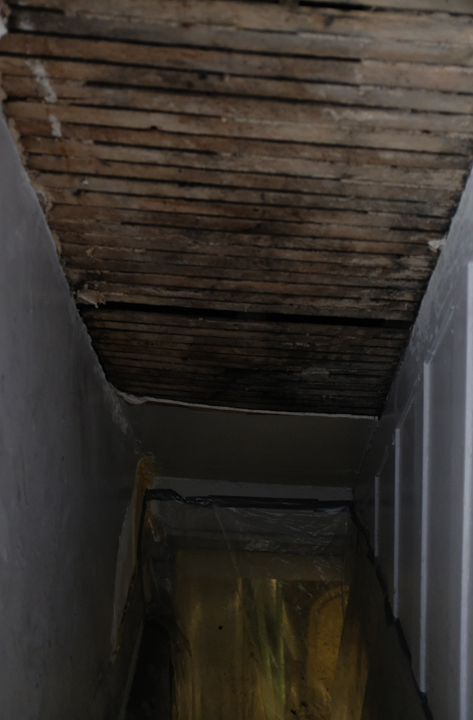
The first step in fixing stairs is to remove everything — drywall, plaster, lath — from the underside in order to see what’s going on. I’d been putting this off because I knew it would be a dirty, miserable job and involve endless rounds of cleaning and vacuuming afterwards.
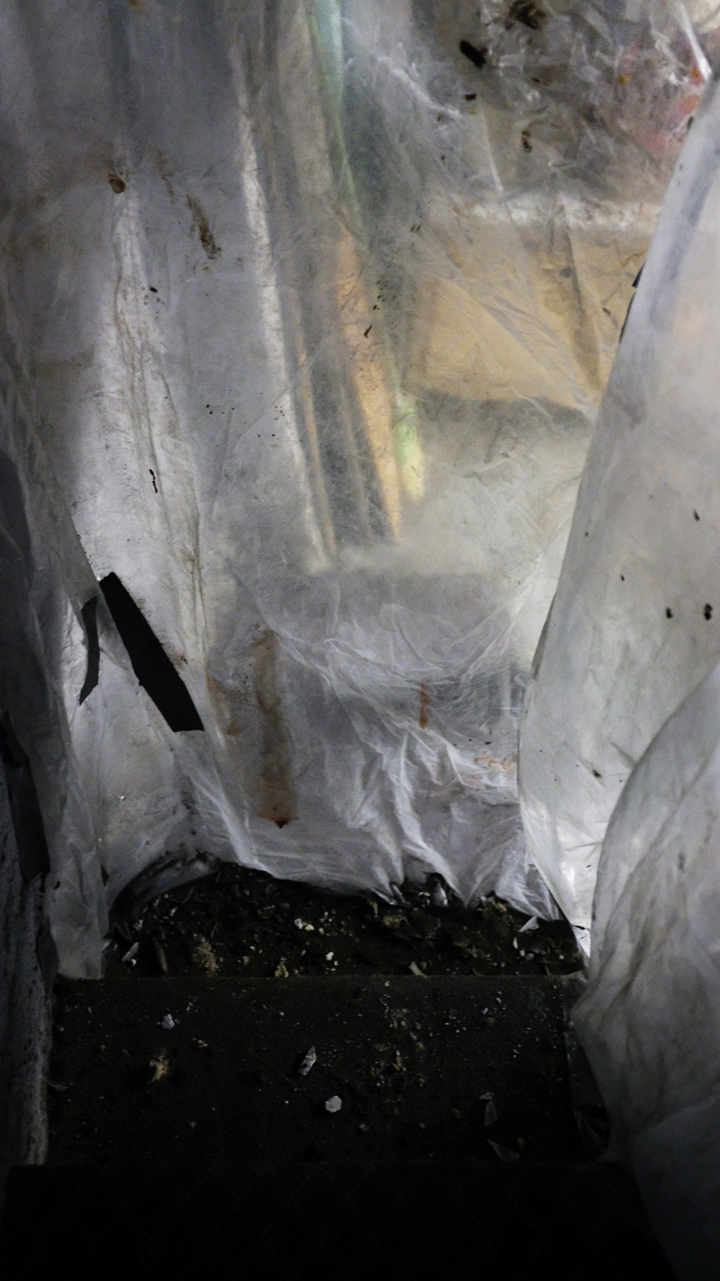
My partner J. was out of town for a week and I decided it was a good time to get this over with. I could work for many hours without stopping and make a mess without it impacting him. First, I hung up heavy plastic sheets to enclose the stairs to the basement, which are directly underneath the stairs I was working on. Pulling down plaster generates a lot of dust and grit and I didn’t want to have to clean the entire basement (including a furnace and water heater).
Taking down the drywall patches was easy, but removing the remaining plaster was a lot slower because the keys (the rough plaster that’s squeezed between the strips of wood lath and holds it all together) were still solid. The plaster had to be broken off bit by bit.
Demo-ing plaster has to be the dirtiest part of renovation. In Pittsburgh, which had bad pollution for decades, it’s extra-messy, because along with the usual grit from deteriorated old plaster, sealed-up spaces often contain superfine black dust from decades of coal fires and industrial pollution. All of this stuff rained down onto the steps (and my head) along with chunks of plaster and lath. Every few minutes I had to stop and clear up before continuing — the basement stairs would be so covered with rubble that I couldn’t get footing.
It took several hours of halting work and when I was finished, clothes, respirator, goggles and every inch of exposed skin were a uniform dull coal gray. Plaster is also surprisingly heavy, so even removing a small section like this results in multiple contractor bags, each of which look almost empty but weigh about 40 lbs. When I multiply this by the combined weight of all the plaster in all the rooms, it’s hard to understand why the house vibrates during high winds, but that’s a topic for another day.
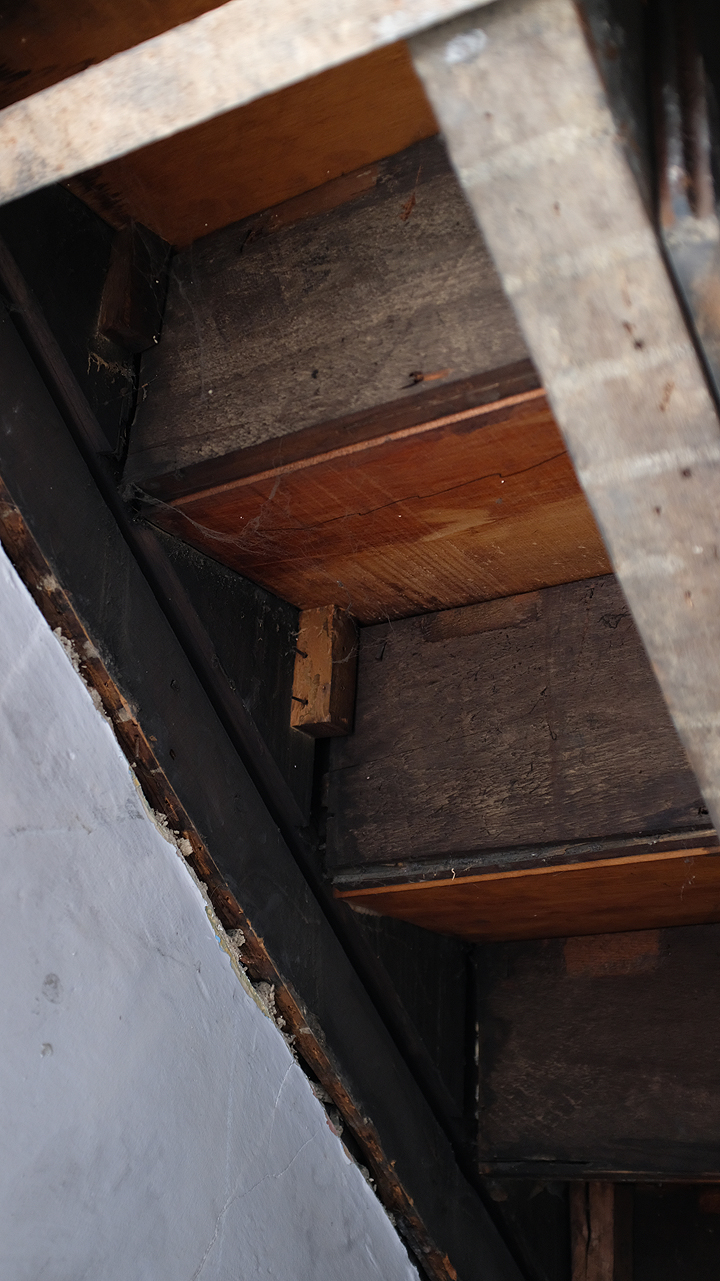
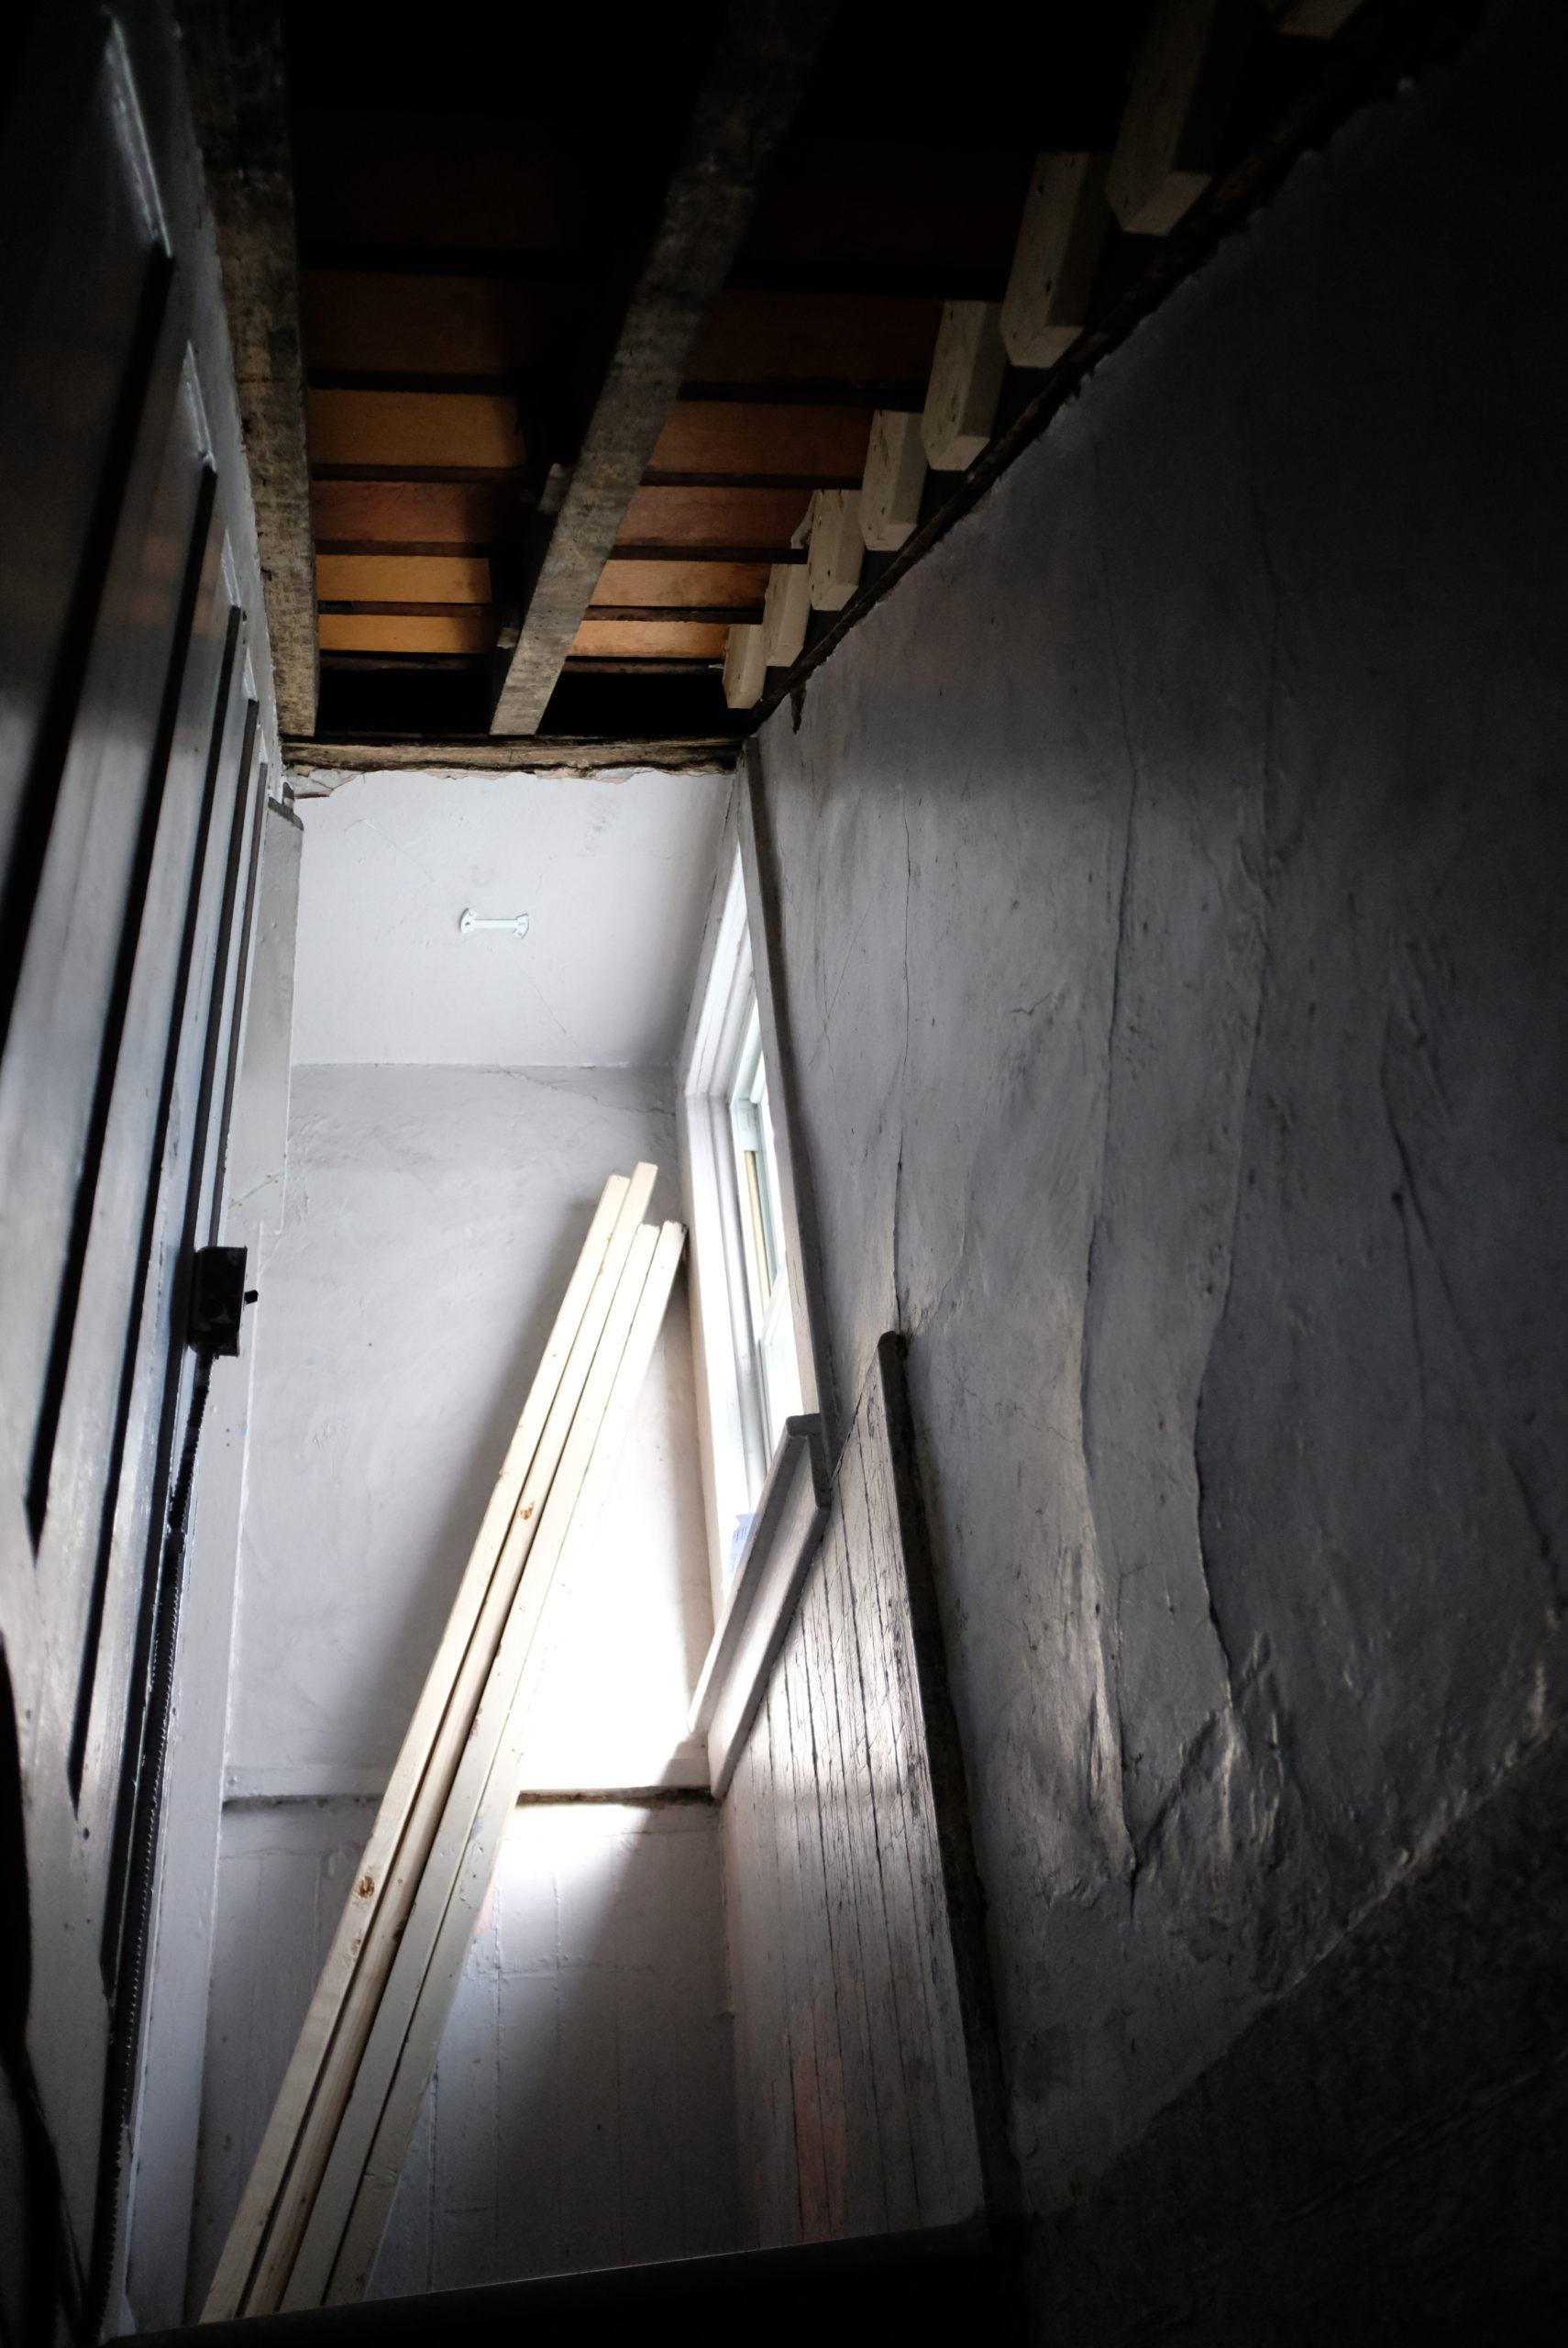
Once the underside of the stairs was completely exposed and everything was cleaned up it was easier to get a good look at the situation.
I could see that the treads had been replaced at some point. It also looked like someone had already made an attempt to shore up the stairs; there were small blocks here and there, although most of them were loose and didn’t seem to be doing much.
When I pushed up on the steps that sagged the most, I was able to move them up an inch or so, close to where they should be. I started to wonder if the stairs could actually be pushed back up into the slots and then secured. It would make the rest of the stair renovation a lot easier if I didn’t have to figure out how to fill the slots in the stringer and the gaps between steps and the wall. The final result would look a lot better, too.
A stairway is a structure made of many separate parts. If it’s secured to the wall, it’s stable, otherwise, it can sag or twist, a bit like one of those articulated wooden snakes. The usual method to fix an sagging staircase is to take it apart and put it back together, but that’s a complicated process and very expensive. According to the Old House Journal book it’s possible to brace the staircase , move it back into the stringer and then secure it. This was a lot less expensive and involved than taking things apart, but still a bit beyond my skill level. I’m willing to experiment and learn on things that aren’t critical, but stairs are something you want to be sure about. We needed a skilled carpenter who had experience with stairs.
An architect I know had the same issue in an old brick house in Uptown and she had high praise for the carpenter who did the work. Joe came by to take a look at our situation and said he thought he could get the stairs most of the way back into the stringer. Before he returned to start the job, I spent a few hours cleaning out the stringer, scraping out gobs of foam and putty that had been used over the years to fill in the spaces between the steps and the wall.
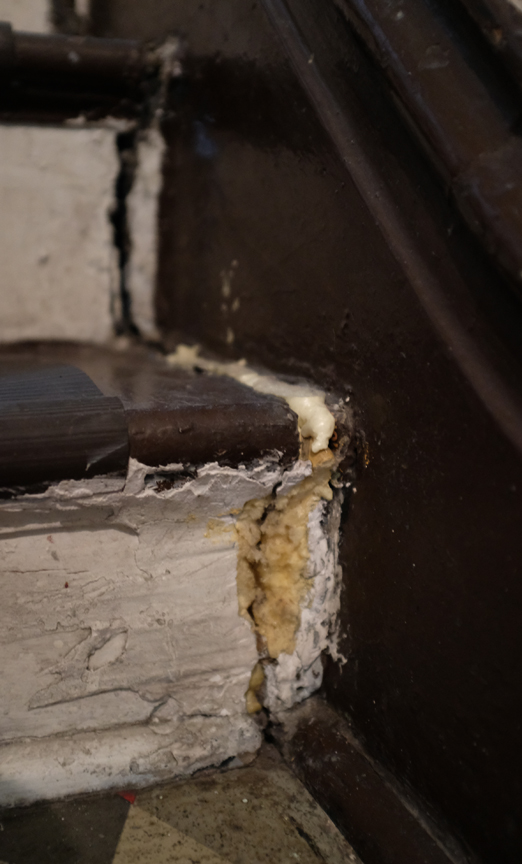
Once all that material was gone it was apparent just how precarious the stairs actually were. They were really only secured at the top, a state of affairs that wouldn’t have lasted much longer.
For next few days we stepped softly, moved slowly and made sure to not be on the stairs at the same time. I kept imagining them collapsing and stranding us upstairs, like that scene in The Money Pit. Thankfully we only had to live with that new awareness for a few days before Joe came back and started work.
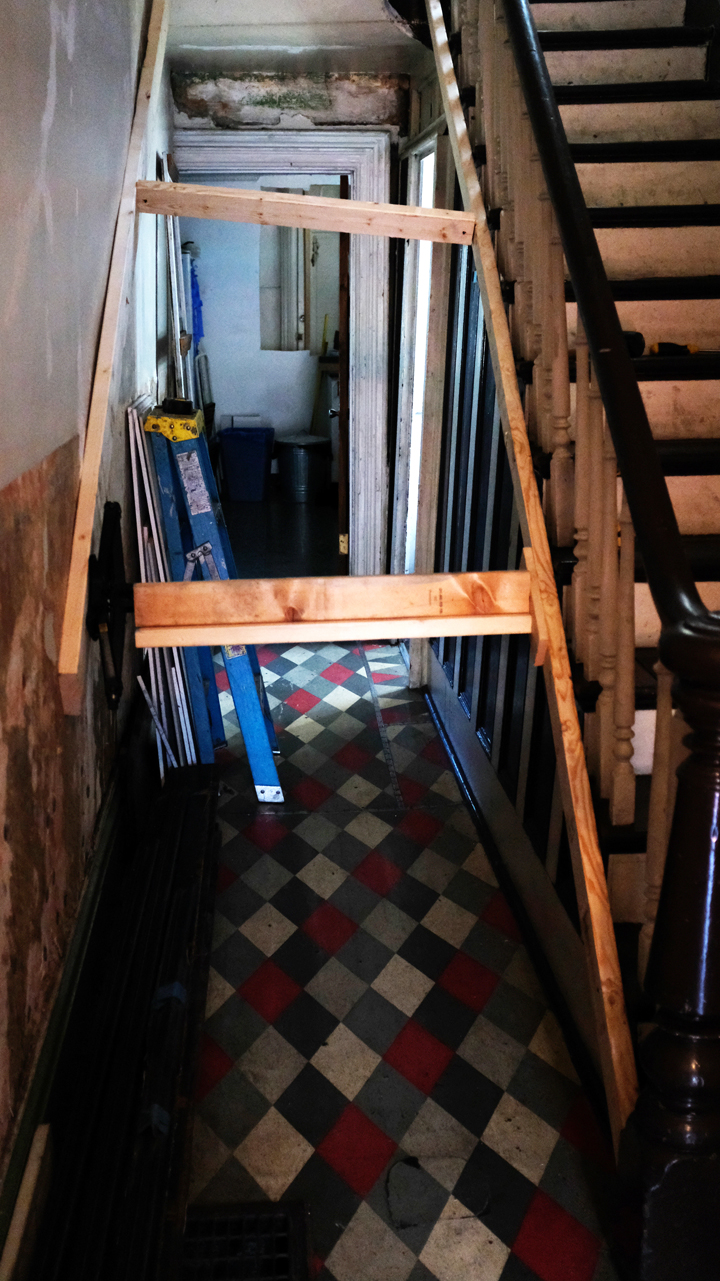
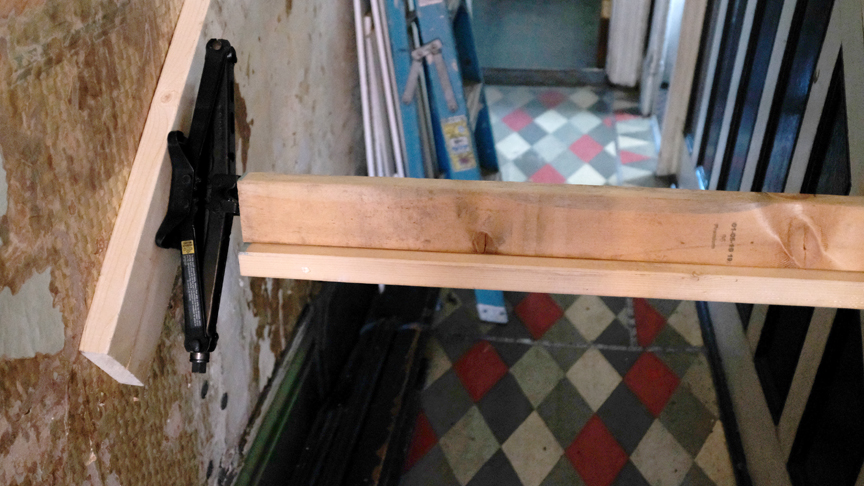
It was interesting to see how he braced the stairs against the opposite partition wall and the side of the stairs, using a diagonal 2×4 to distribute the pressure.
He also braced the stairs from below with 2×4’s placed vertically. By going back and forth and slowly adjusting the bracing from the side and below, he gradually lifted and moved the whole structure back to where it should be. He also attached blocks at several points along the stringer to keep those steps from moving too far.
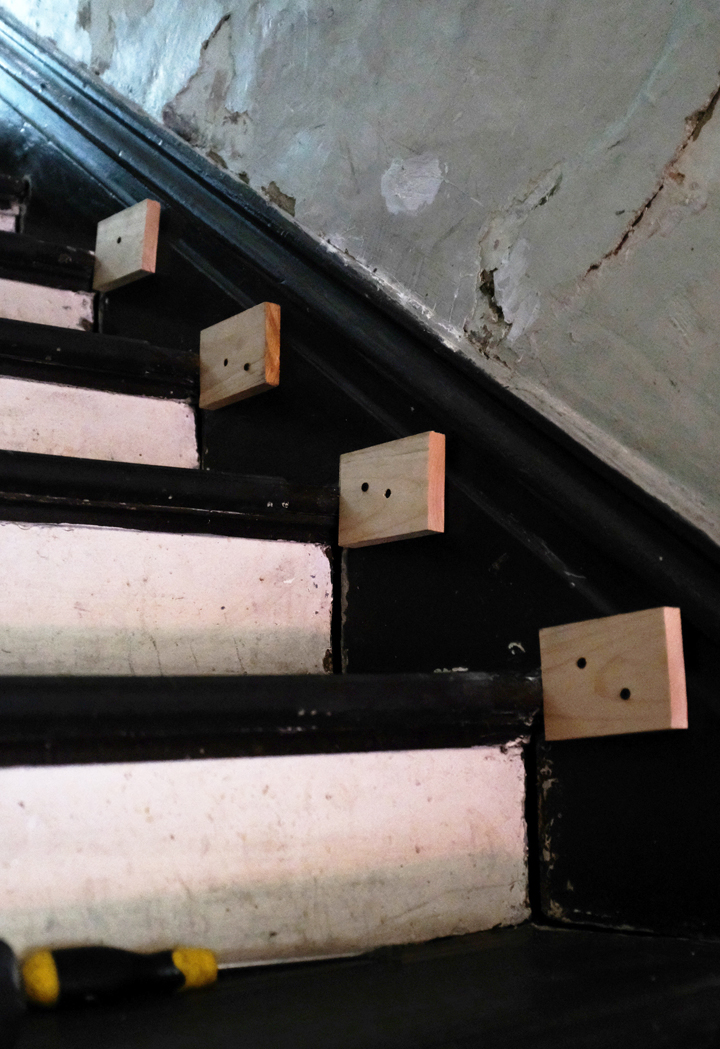
Once he had moved the stairs back into the stringer — or as close as he could get — Joe added blocking underneath each step, using glue and screws to secure them into place.
There’s something very reassuring about that tidy row of identical blocks.
The bottom two steps couldn’t be moved back to the stringer, so he decided to replace those treads and risers. You can see the old floorboards under there. One day I’ll pull up the old diamond-patterned linoleum and refinish these floors.
The funny thing is the stairs don’t -look- much better, that won’t happen until I strip and refinish the woodwork, which will come after work on the second floor hallway ceiling and walls. But it’s wonderful to go up and down stairs that feel solid. A couple of the steps still creak a bit, but that’s fine — just part of the character of an old house.
