The general plan for the interior renovation was to do it piecemeal, starting at the top of the house. This story is being told piecemeal too, so it might not be clear, but in general things have proceeded according to the initial plan.
Thus, work started in the attic. It’s a big room, 22 feet square, but the sloped ceiling is only 7 feet at the highest point. The space had been partially enclosed with a sturdy wood and glass structure to create a little room within a room. It was clear why someone took the time to do this — with no insulation and crawlspaces on two sides, it’s cold up there. The structure could have turned a big chilly attic into a semi-comfortable bedroom.
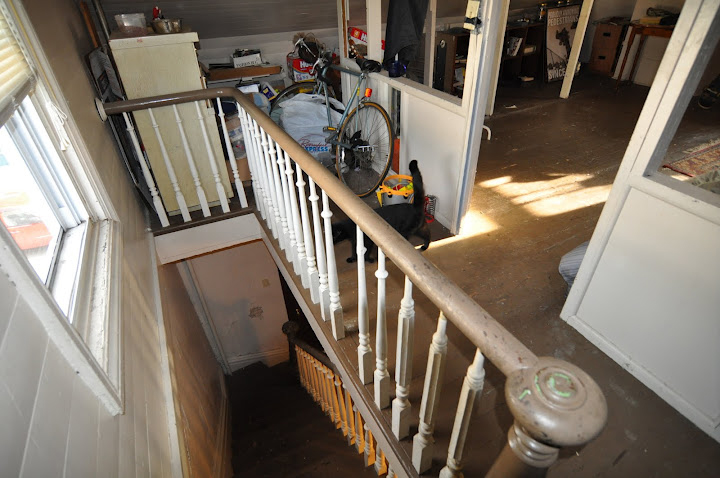
(realtor photo)
The side panels had been removed at some point so the framework wasn’t serving a function anymore. It just chopped the room up and didn’t look very good.
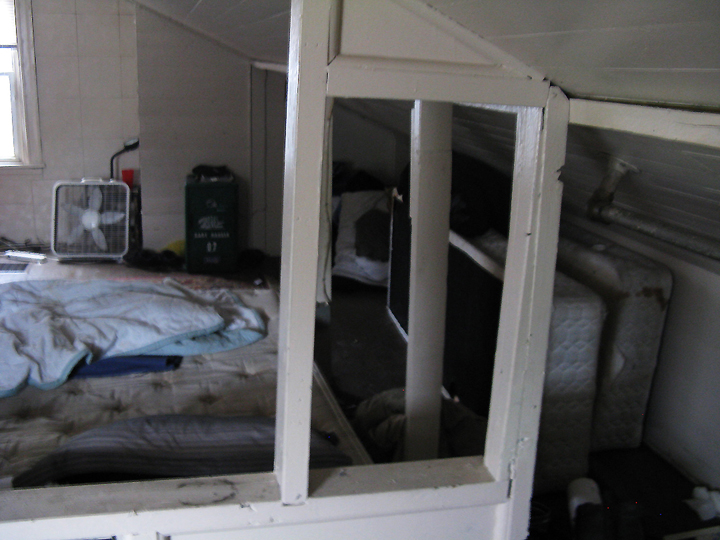
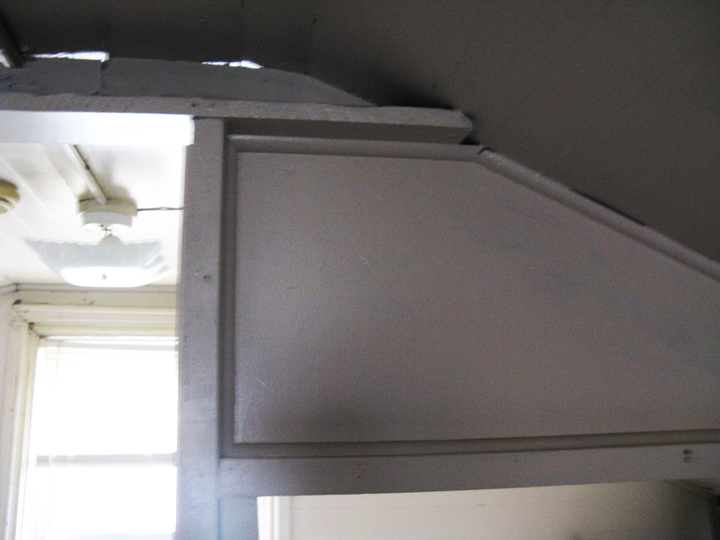
I wanted to open up the room, cold be damned. Once I was sure the framework wasn’t holding up the roof, we spent a fun evening in a frenzy of demolition. Someone really made sure this was solid — lots of 2x4s , lots of nails. I wish I’d gotten demo pictures, but taking wood structures apart with hammer and pry bar is extremely entertaining and I completely forgot to stop and take in-progress shots.
Afterwards, when things had calmed down, we pulled out all the nails and stored away the wood pieces for future scrap needs (of which there have been many, so doing this was both Virtuous and Worthwhile).
It was immediately so much nicer once the space was opened up. Even with a low, sloped ceiling it feels spacious. The light’s really nice too, with no structure to block it.
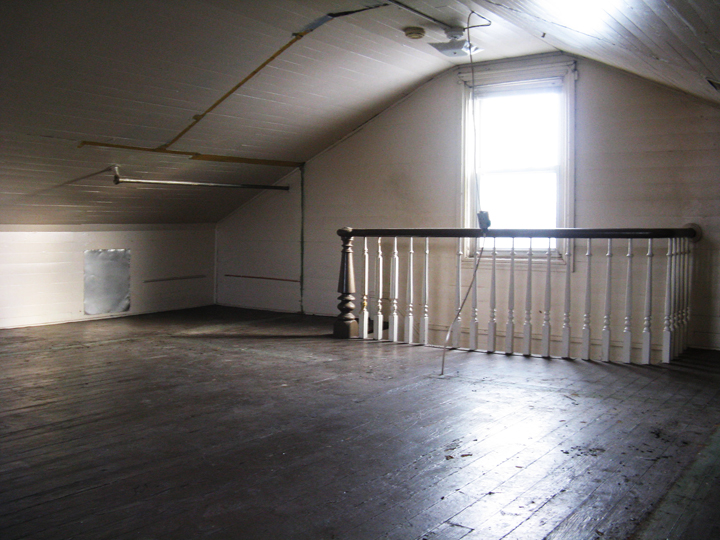
I like that the stairway woodwork up here is the same as on the first floor — same newel post, even. Typically the woodwork in non-public spaces would be much simpler, but for whatever reason they didn’t do that here. An old house expert came to see the house shortly after I bought it and, seeing this woodwork, said “they put their money in the stairs”.
The walls and ceiling are wood — it looks like they just continued the floorboards up the walls and onto the ceiling. The room has a lot of angles, so doing this was probably quicker and cheaper than paying a plasterer to do overhead work in a room that only the family would see. I really like it.
Wood panel walls are pleasingly straightforward to deal with: smooth down, fill holes, primer, caulk gaps, and paint. Much less fuss than patching drywall or plaster. The only nuisance was sanding off paint buildup.
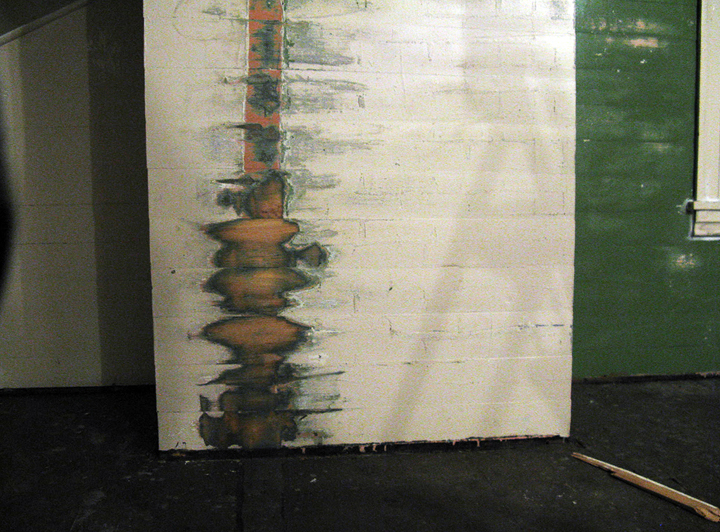
After spending some time on this encrustation where the frame for the room-within-a-room structure was attached, my partner suggested that we strip and refinish the walls and ceiling along with the floor. He was joking, but even the thought of that project makes my eyes twitch. Ugh.
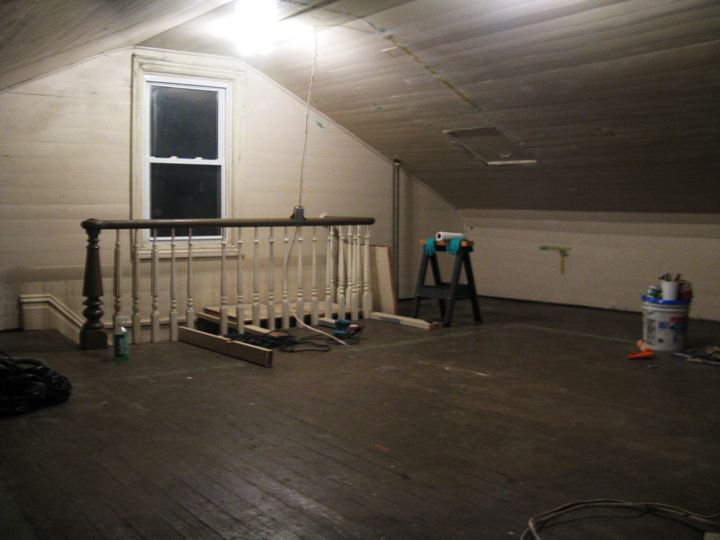
To work on the window above the stairs, I made a platform to cover the stairwell. (This is where some of that salvaged wood from came in handy.) On the left side, the platform rested on an strip of wood that was already there. In old houses sometimes there are ~1″ wood strips, sticking out about an inch, on stair walls level to the floor.
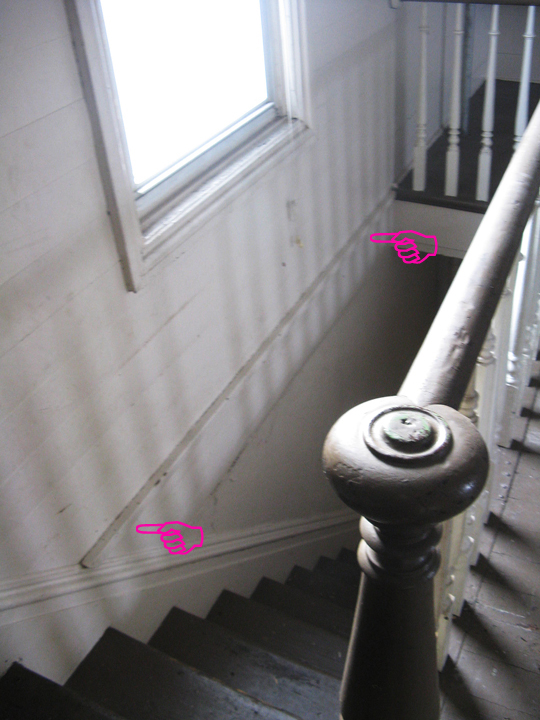
It looks random, but it’s there so painters or anyone doing repairs could set boards across the stairwell space so they could work above , like so:
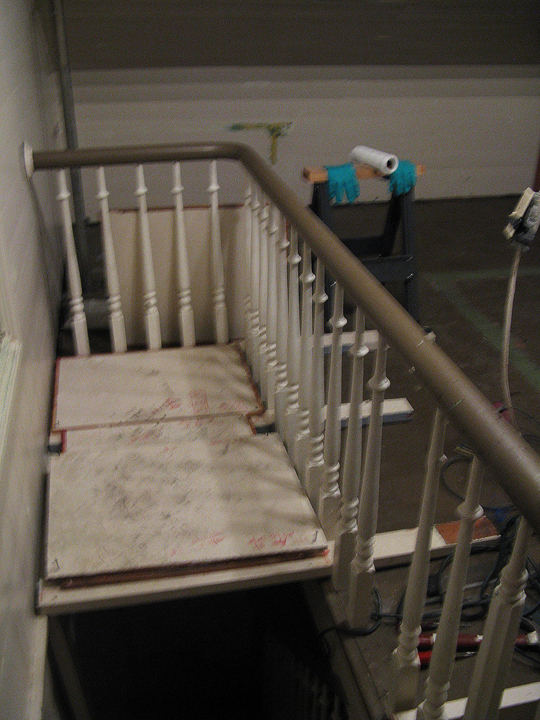
Since the support strip was old, I braced it from underneath with a 2×4. It worked fine and felt solid enough, but I was very aware of the yawning gulf of the stairway underneath.
On the other side of the room the window was surrounded by acoustic tiles, probably in an effort to add some insulation. I was a bit nervous about removing them, wondering what horrible situation might be underneath.
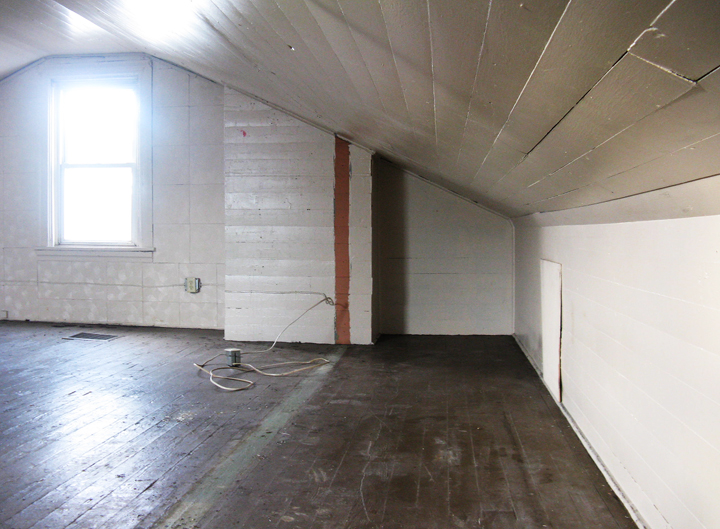
But it was fine, just the same wooden planks painted kelly green, probably in the 1930s — this color was popular then.
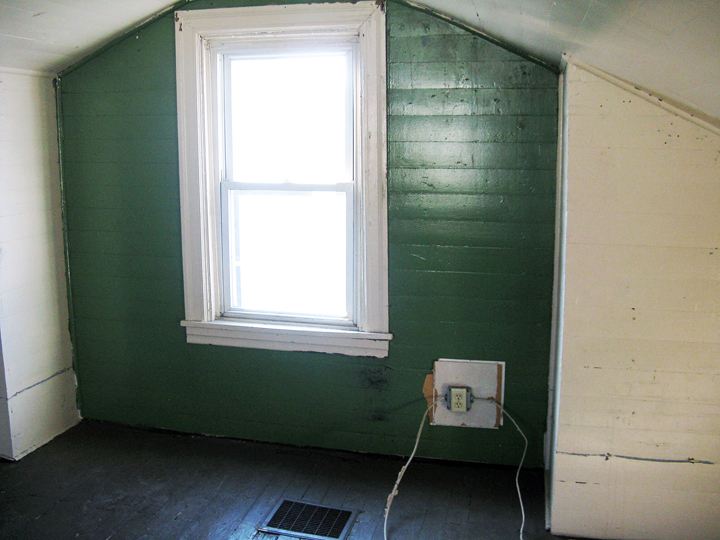
When I was 10 or 11, I painted my room a green a bit darker than this, with glossy white trim. My dad and I made a stained glass shade, like you’d find in an old ice cream parlor, also in green and white. The finished effect was striking, but the green-hued light made being in there depressing as hell.
While this green paint was interesting, there was no question of keeping. I wanted to turn this attic into a big, calm space, and with so many angles in the room there was already a lot going on. (Also I’m really over accent walls.)
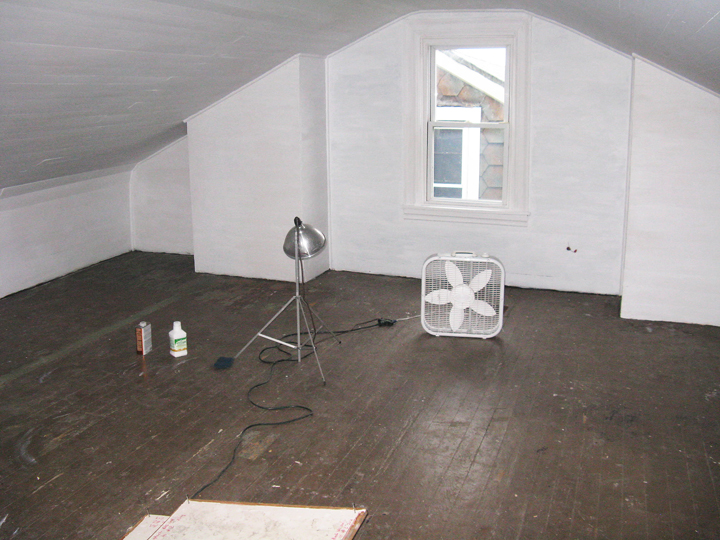
After the walls and ceiling were primered we got started on the floor. We tested the top layer of paint, which turned out to be l**d, so it was likely that one or two of the other layers were too. Sanding this would put a lot of lead dust into the air, so although it would take longer, we decided to chemically strip most of the paint before sanding the floor.
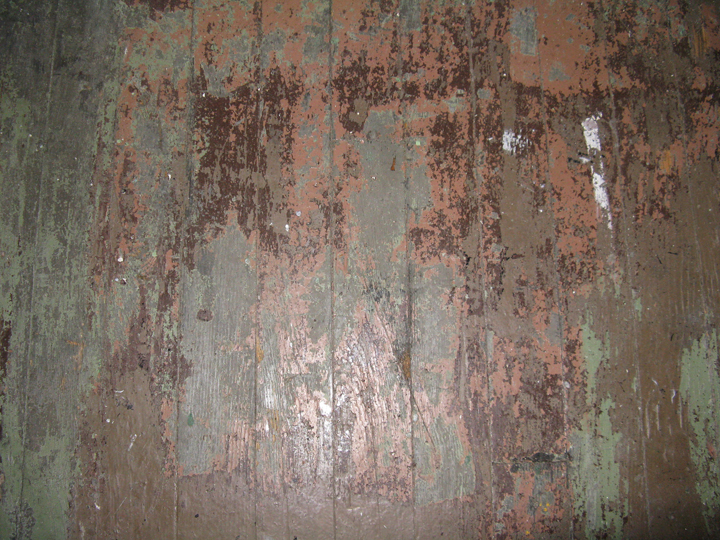 There were So. Many. Layers. Old paint was very good quality. Stripping took a long time.
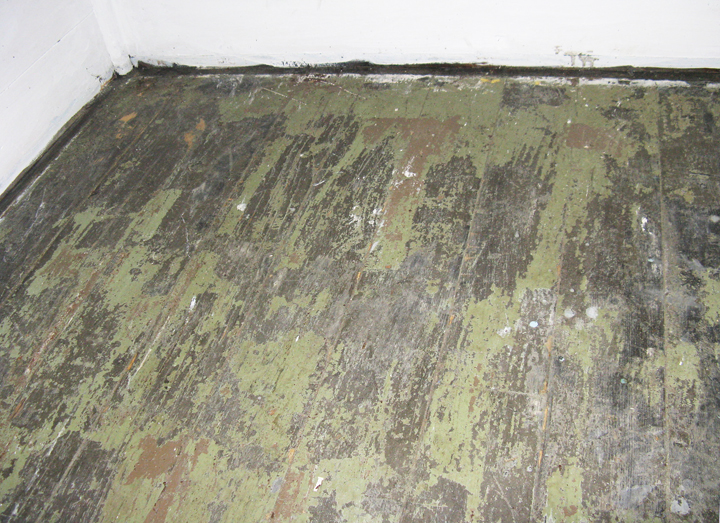
We counted up to 10 layers of paint in some areas. The bottom-most layers were partly soaked into the wood, so this is where we stopped the chemical stripper. It was exciting to finally see actual wood here and there.
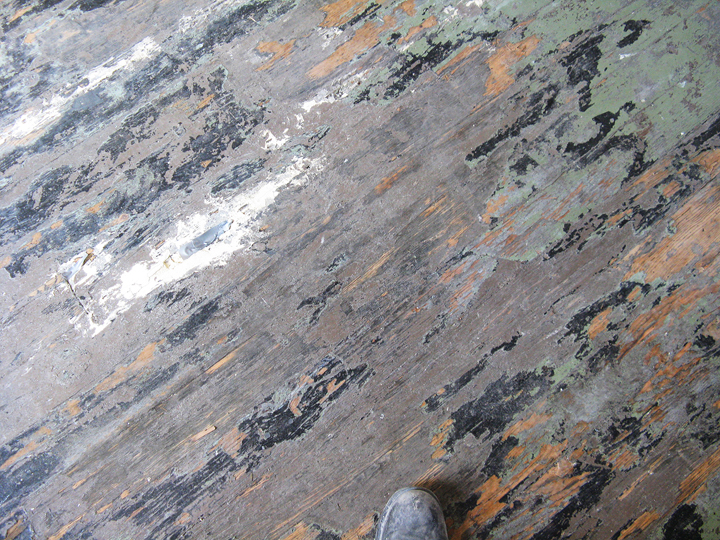
Once there were only the tenacious remains of paint, we rented a sander.
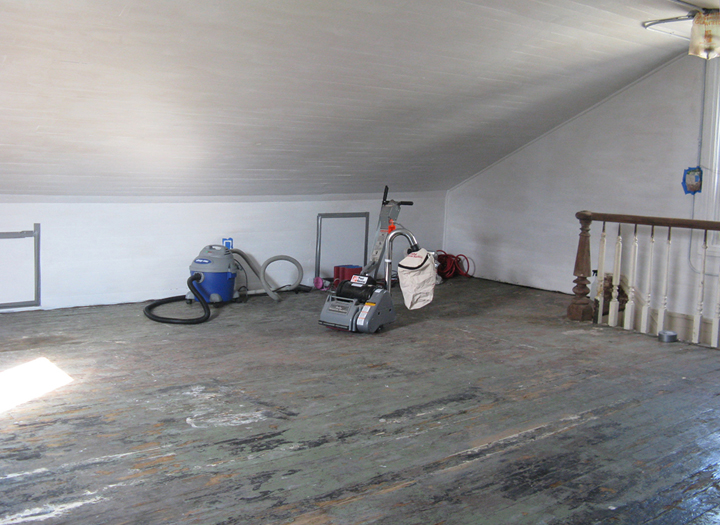
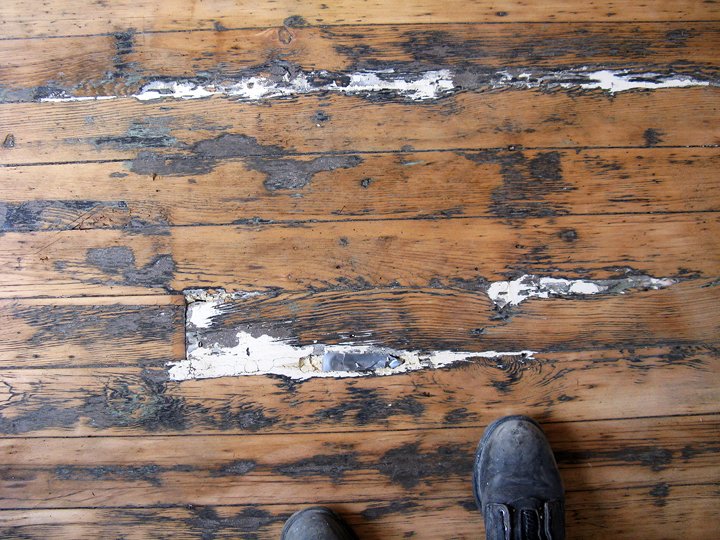
I think this was after one pass of the sander. The white stuff is old epoxy, which filled a rather large gap in the floorboards. At some point I’ll make an attractive patch for this — maybe copper? — but for the moment, the epoxy is holding.
As the wood was gradually exposed the light in the room changed dramatically. It was like the sun coming out.
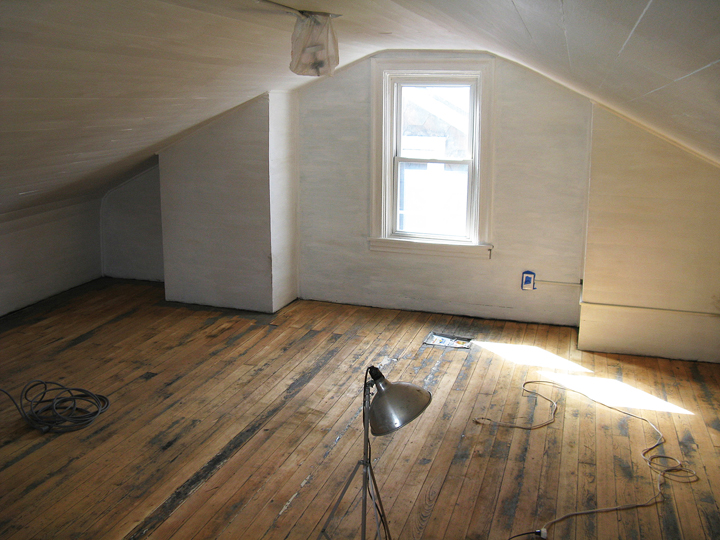
Apart from the actual sun, that is.
The floorboards aren’t perfectly even so paint remained in some areas and had to be removed with an orbital sander.
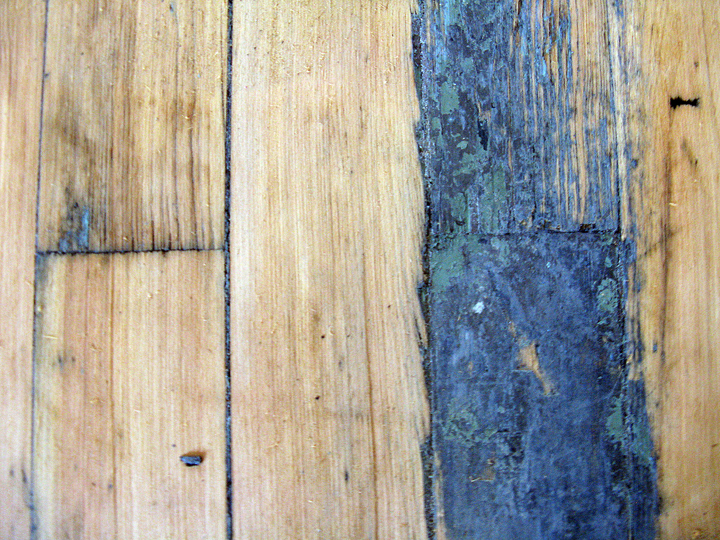 After the second sanding:
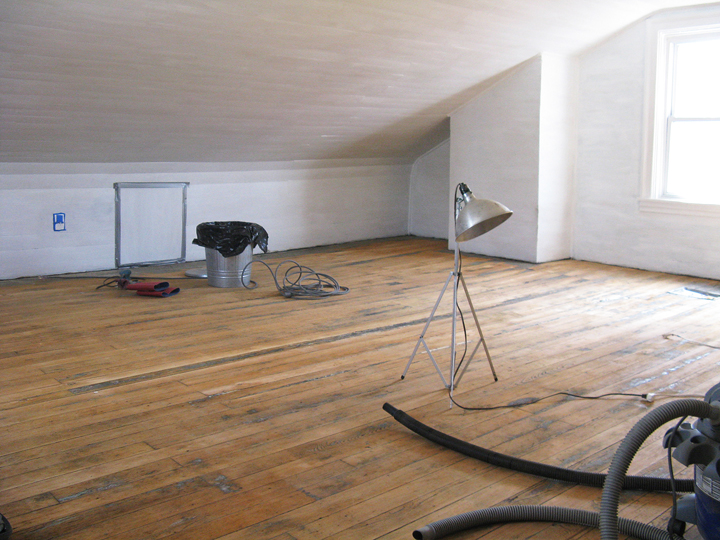
After the third:
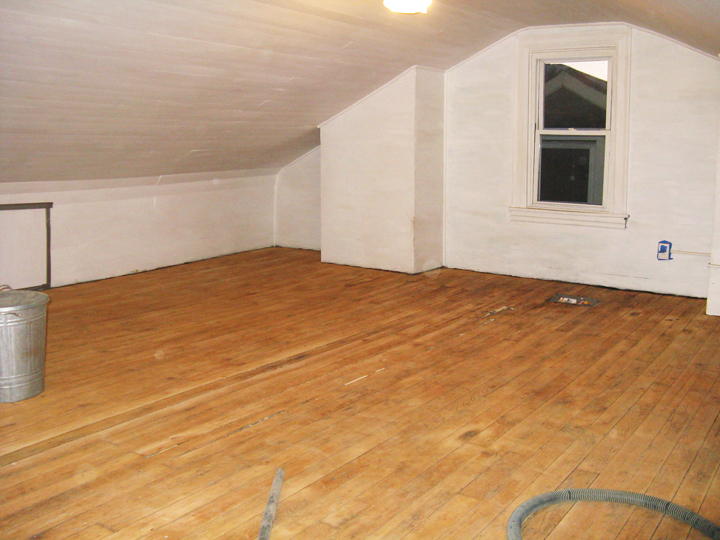 So, so much better. All I wanted to do at this point was stand in there and stare at it.
Next: Osmo and stair woodwork.
